PhotoPlay “Moments In Time” KeepSake Mini Album

Just finished a new mini album design! I am calling it a “keepsake” mini album because of the keepsake details I incorporated into the album design.

The Moments In Time paper collection is a lovely set of 12 X 12 double-sided printed papers, a 12 X 12 sticker sheet, and two 12 X 12 sheets of cut a parts.

The first keepsake element is on the front cover of the album. An acetate window and top slot gives access to adding your favorite cards, memorabilia, ticket stubs, receipts, or any other items commemorating your memories. A convenient flap keeps all the items safe and secure.

The second keepsake is a small window box in the back inside of the album. Here too, you can keep small items you wish to retain in the album. The accordion pleated box sides allows for some expansion.

The page spine is credited to FollowThePaperTrail by Laura Denison Designs (https://youtu.be/C85xgZVAiSU). Quite a unique and different way to place your album pages. I particularly like the flexibility in removing or interchanging the pages easily.

See all the details of this project through the link or image below.

If you like this video, please give me a “thumbs up” in YouTube.

Stay safe, and thanks for checking out this blog post

Reinventing A Project: Project #2

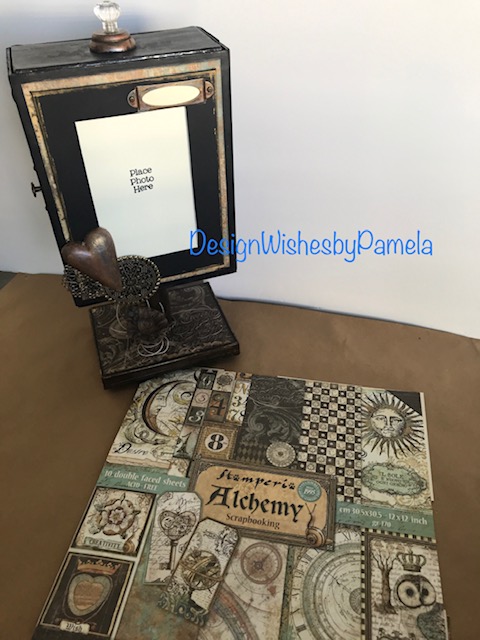
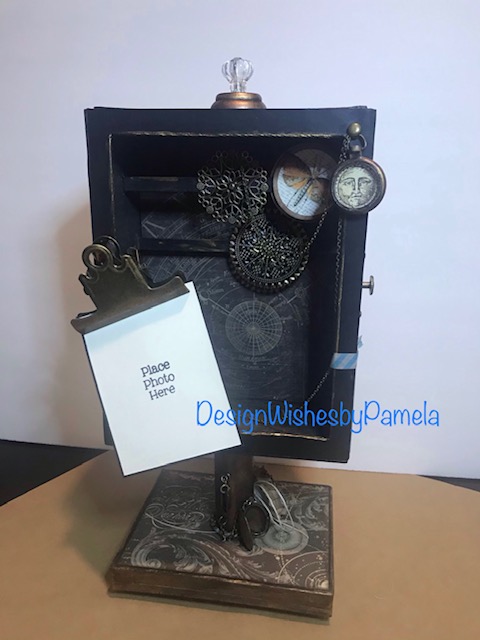
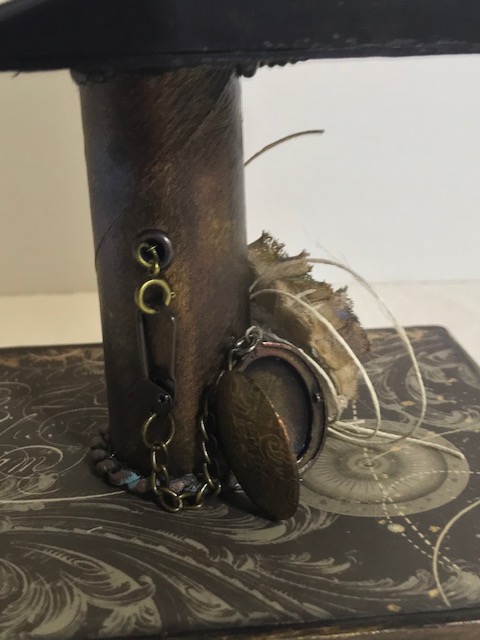
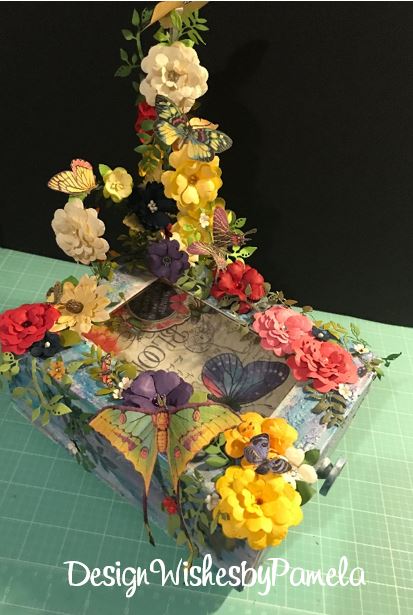
A few months back I shared a post about creating a design project from a previous project. Below is the original project for this inspiration.

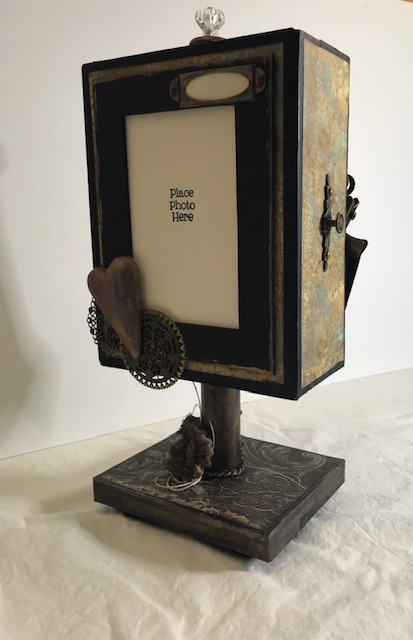
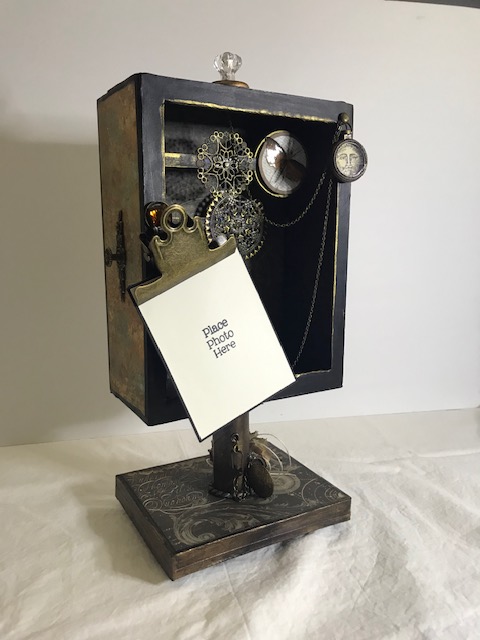
In the first reinvented project, I transformed the box into a three dimensional photo display.

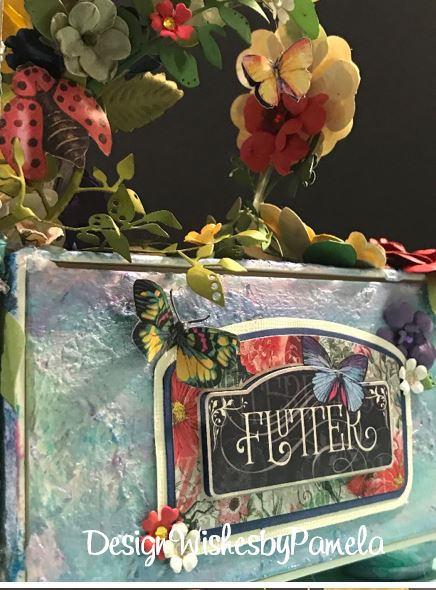
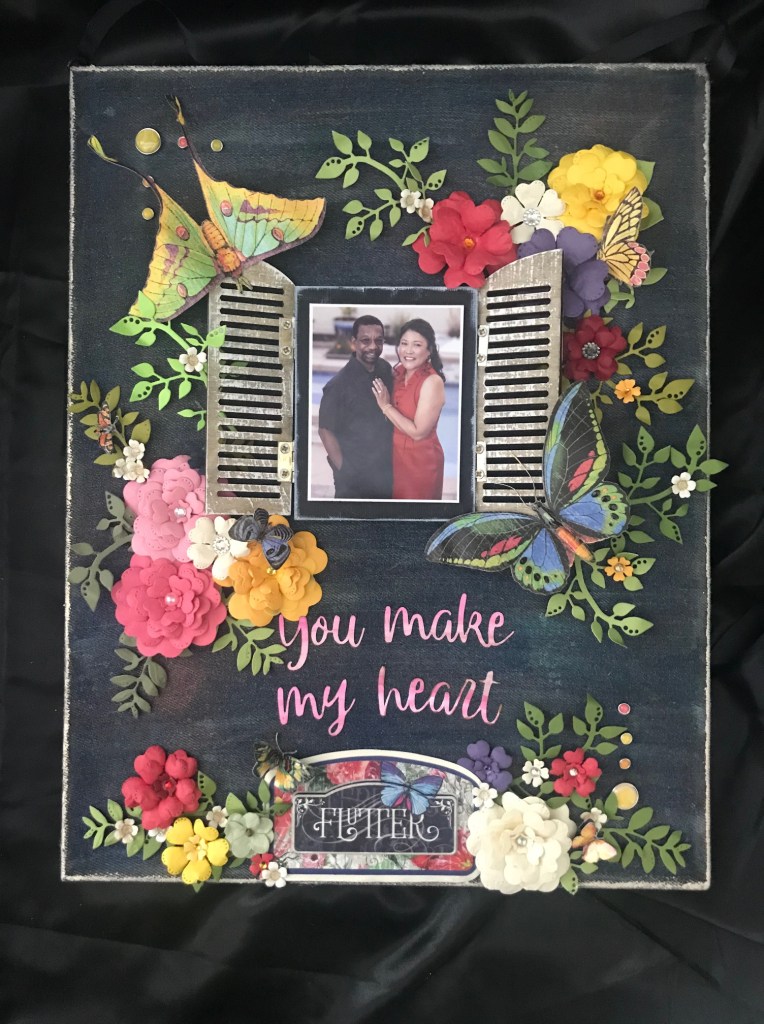
The second reinvented project focuses on using the floral components of the original design project. Using an 11.5″ X 13.5″ denim canvas as my base, I created a vignette for a photo display.

You can hear and see all of the details of this project on my YouTube video below.

I have just a few more pieces from the the original project leftover and plan to make one last project for this Reinventing A Project series, so stay tuned!

I hope you are inspired to create your own reinvented project by using an old project or just found items around your craft space or home.

To see more projects, ideas, shop or more, check out this link below.

https://linktr.ee/designwishesbypamela

Be safe, enjoy crafting, and thanks for checking out this blog post.


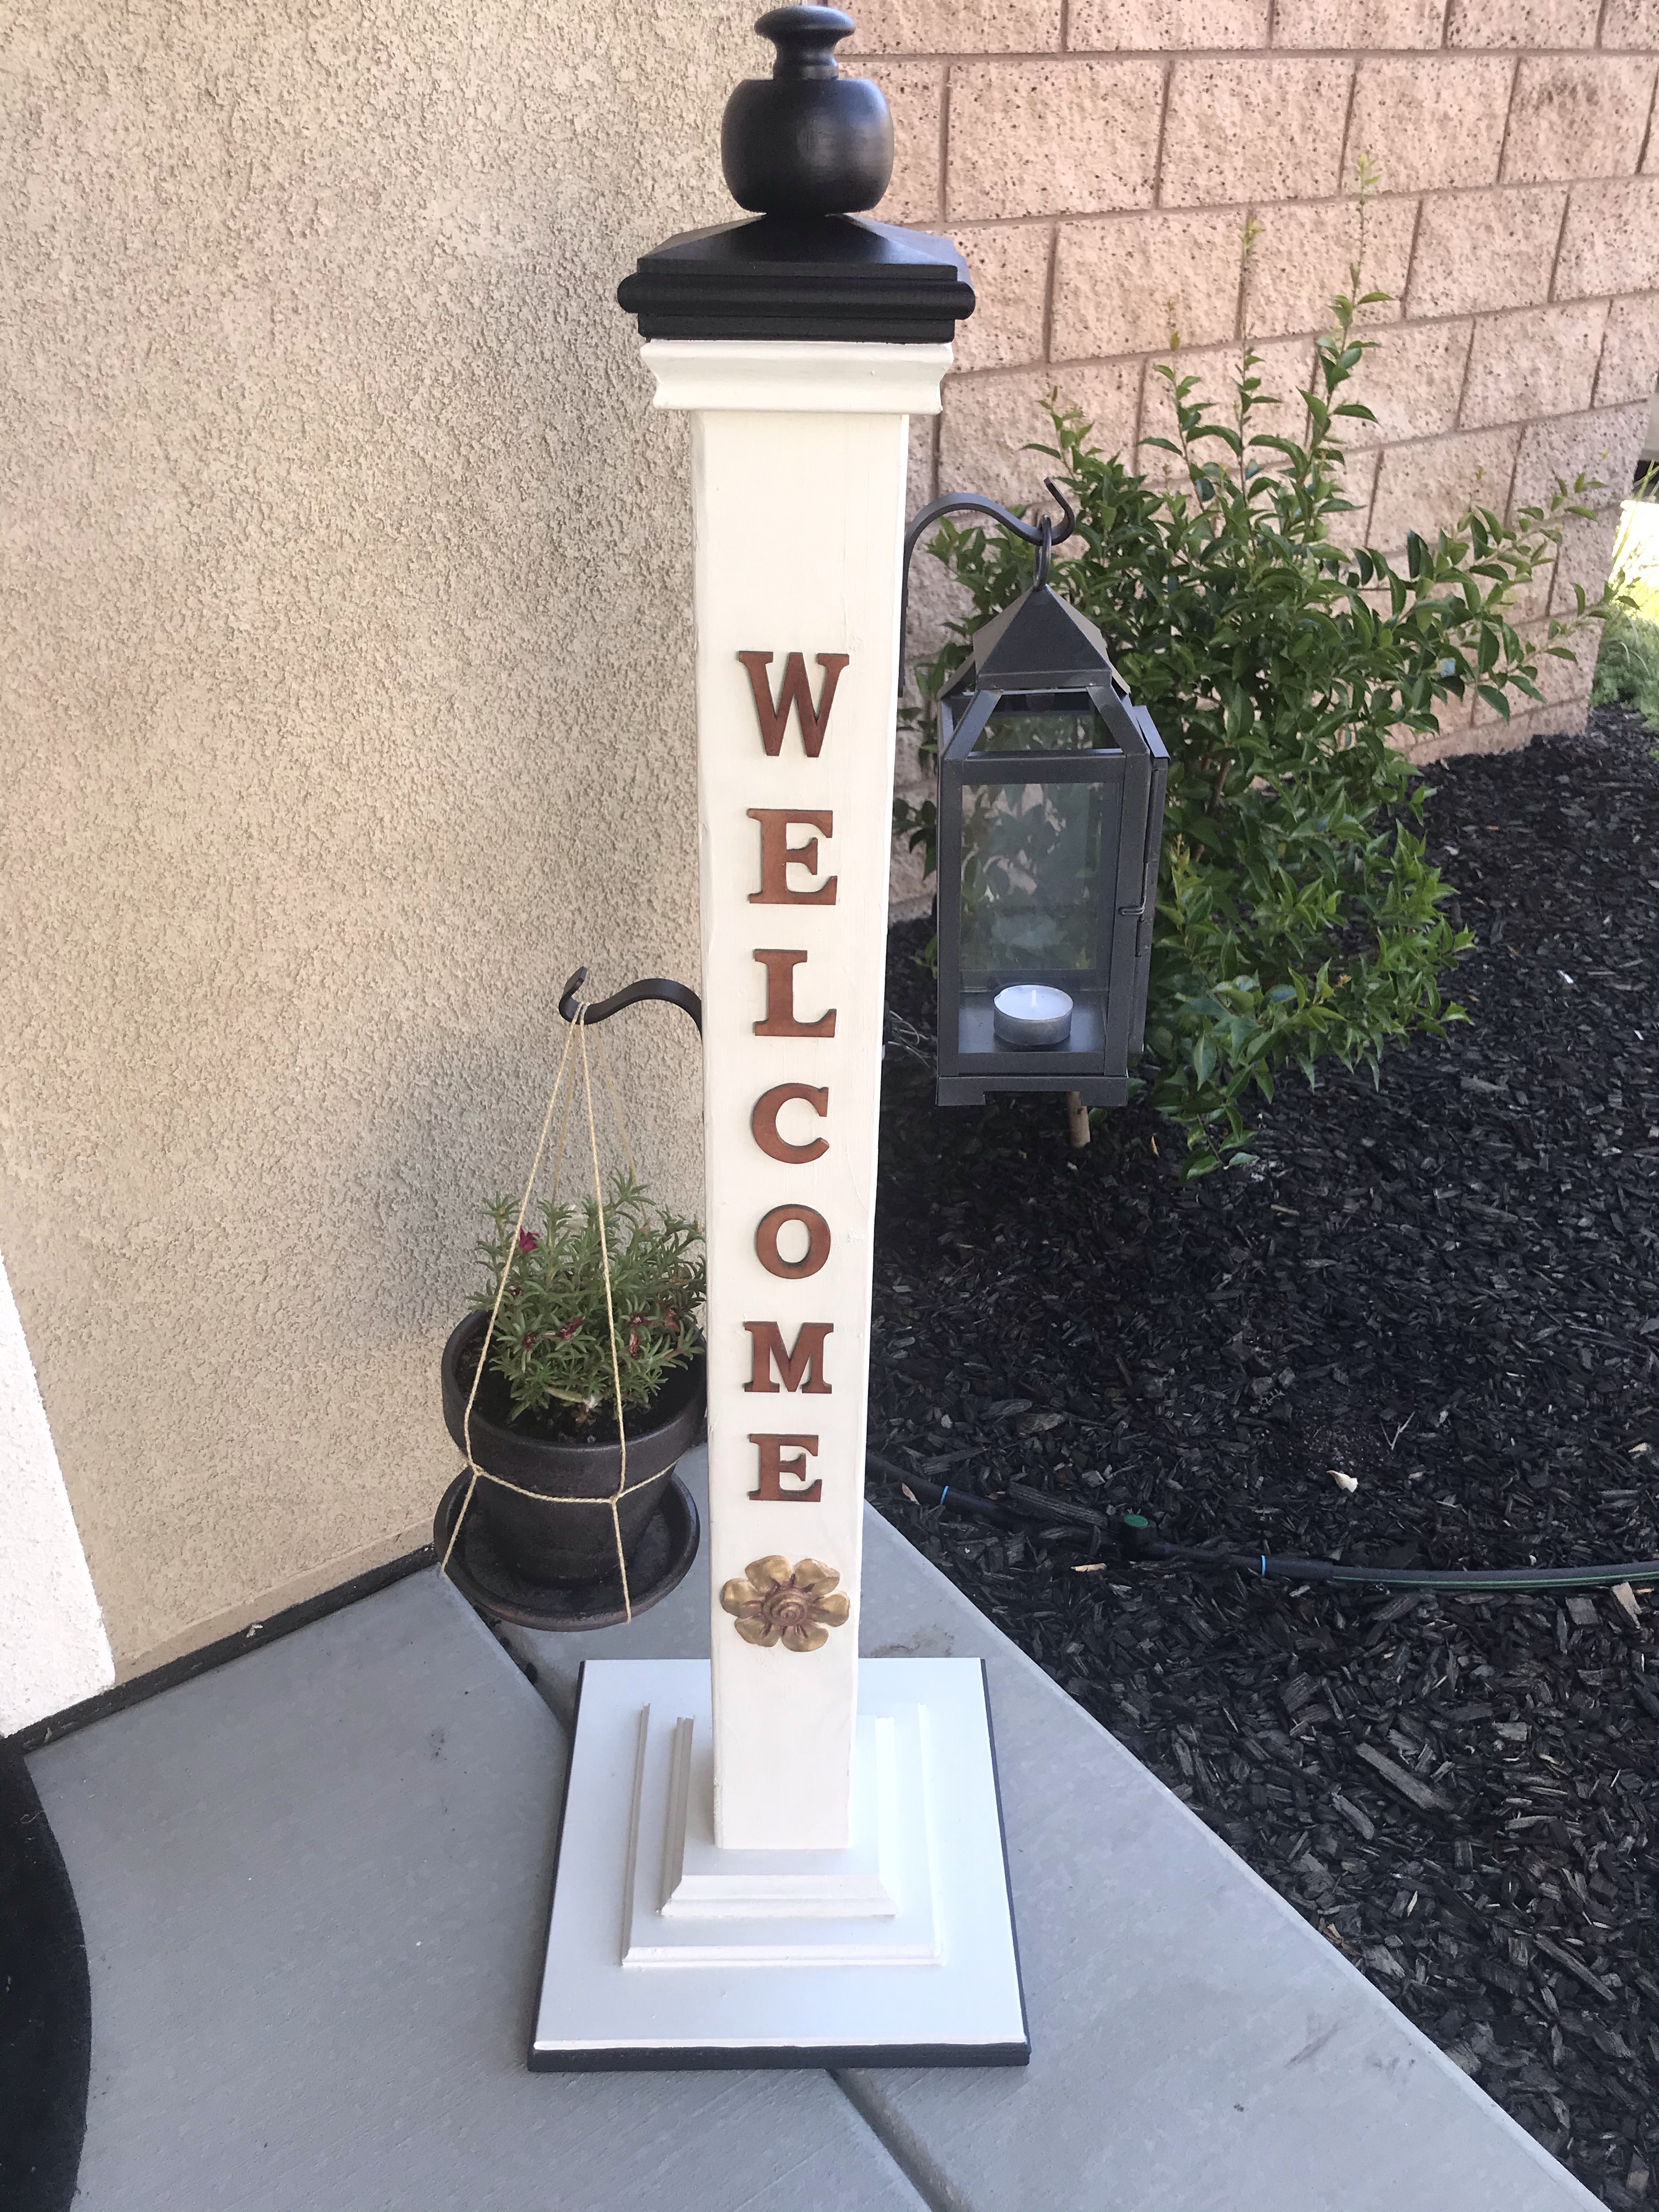
New Porch Post Design

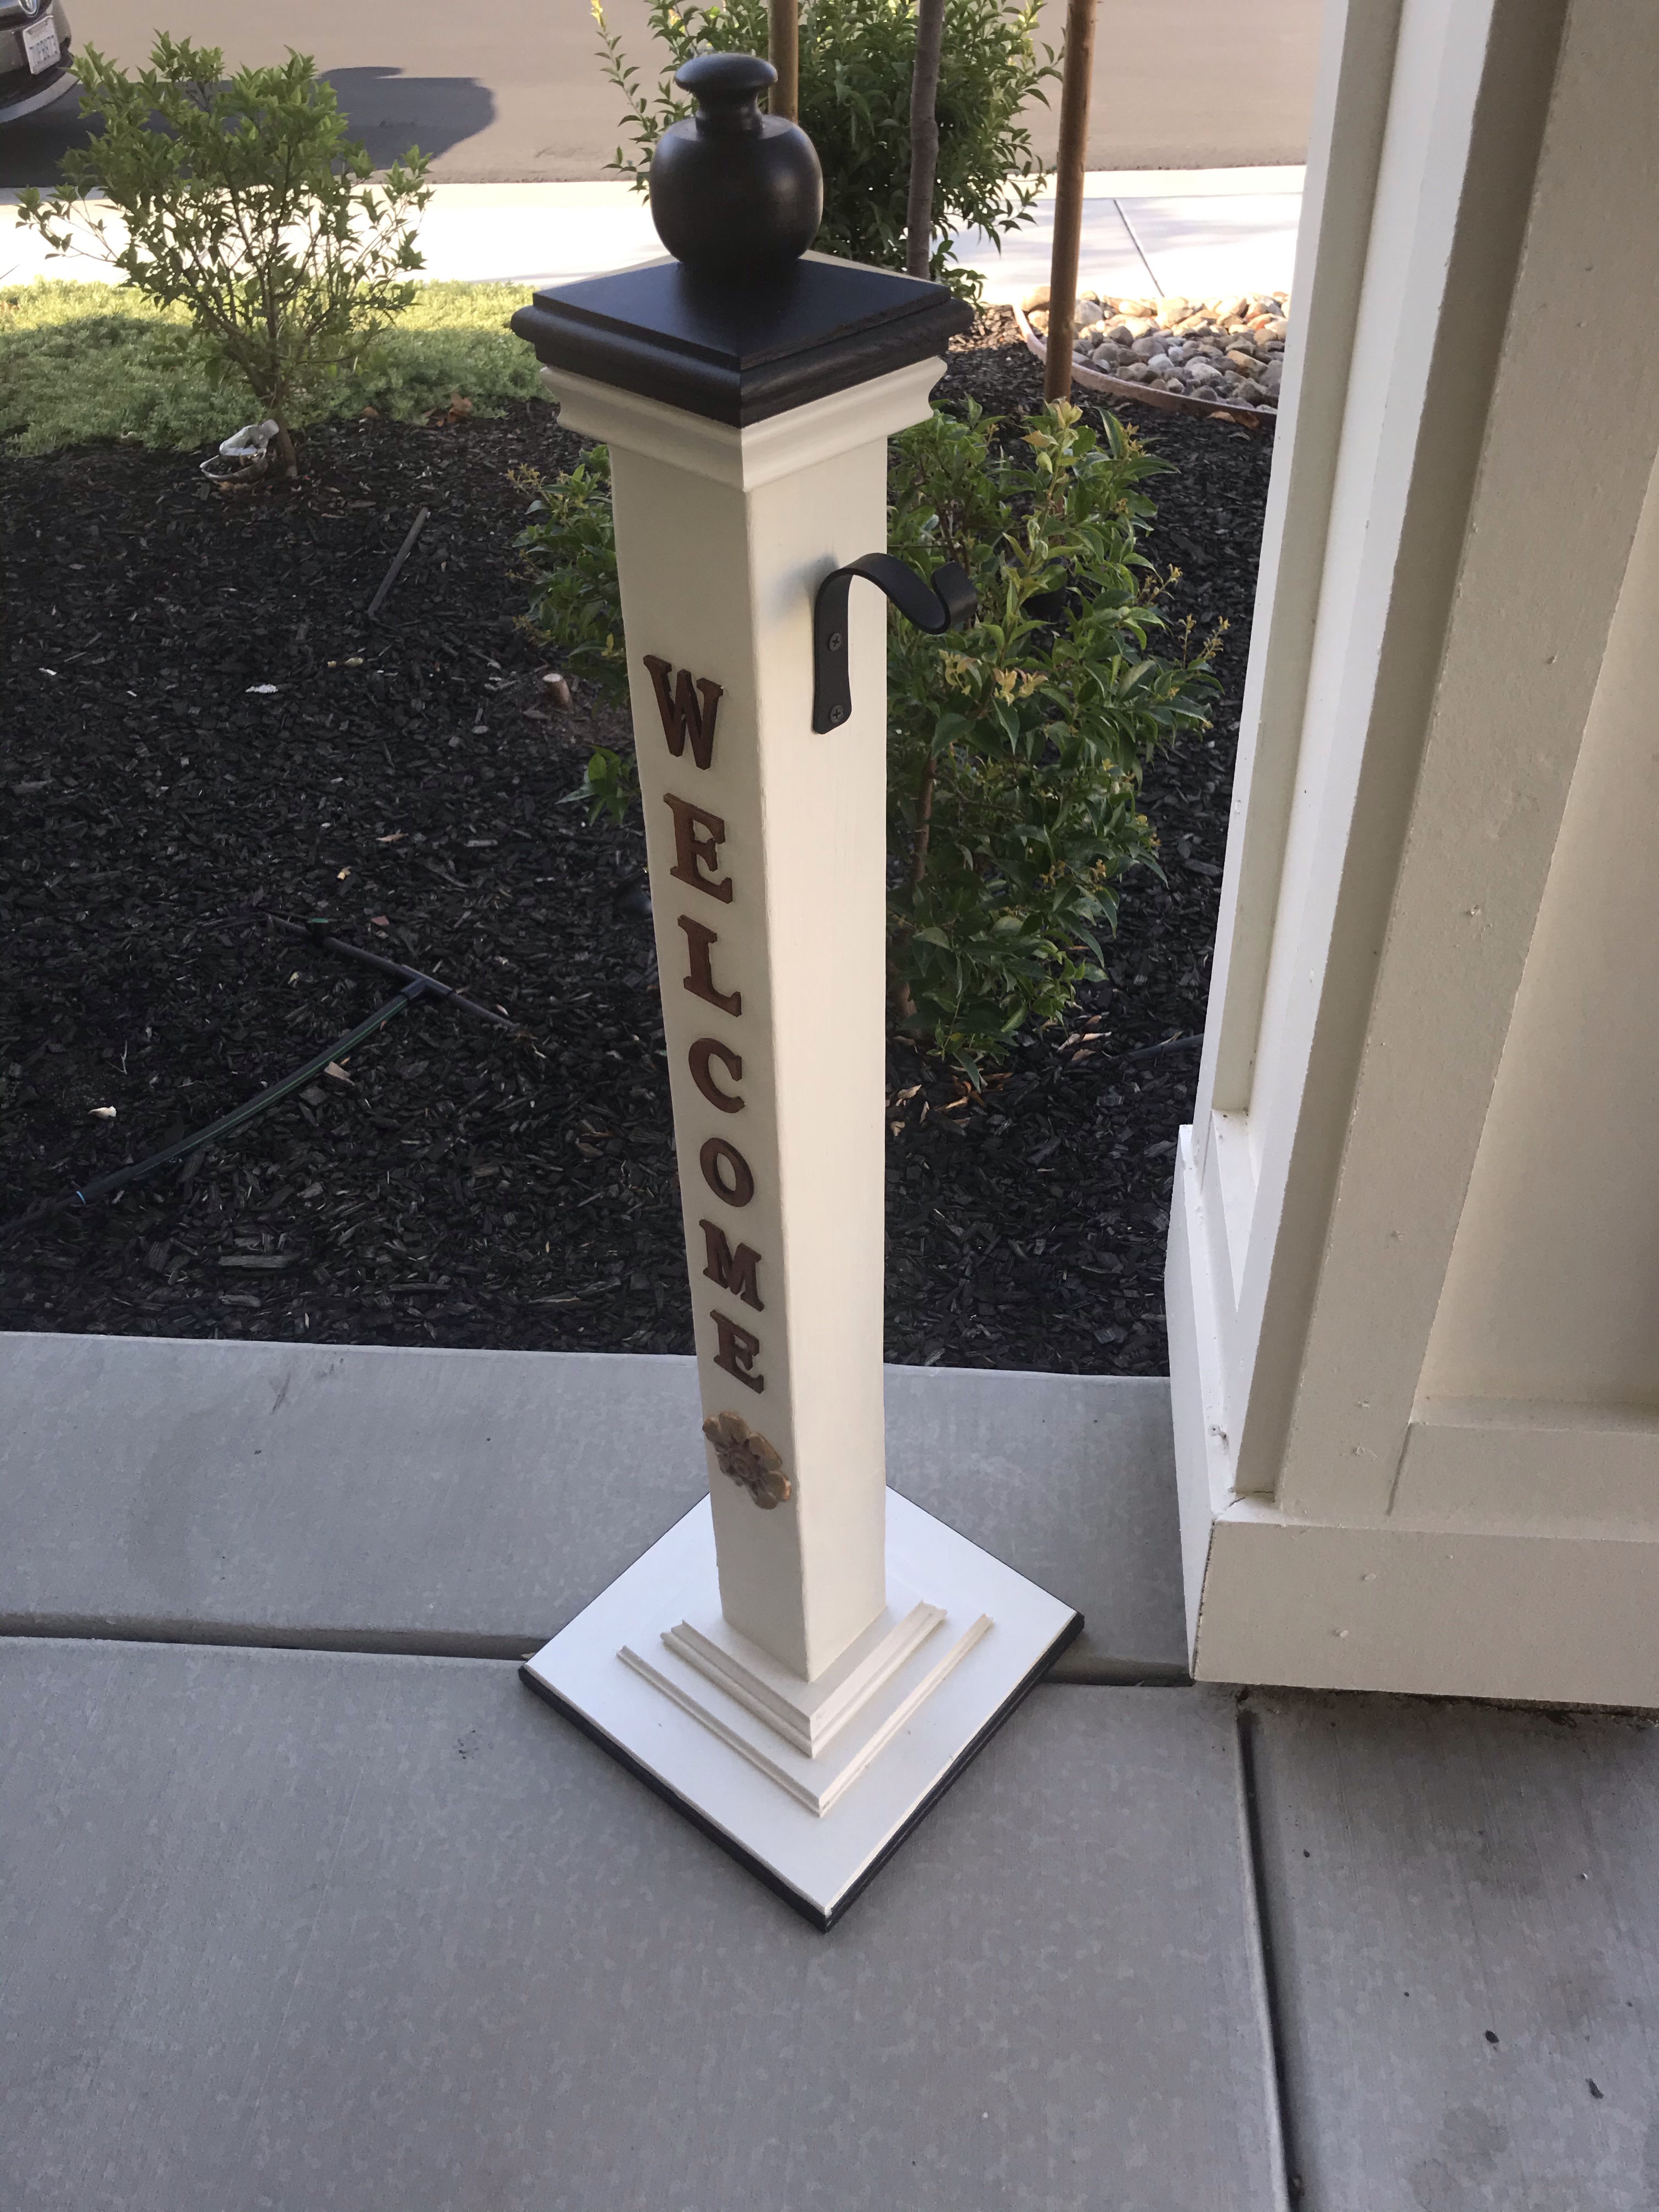
Here is the second of two porch posts I created. I really like the look of this post, it’s a classic look that would fit any porch setting.

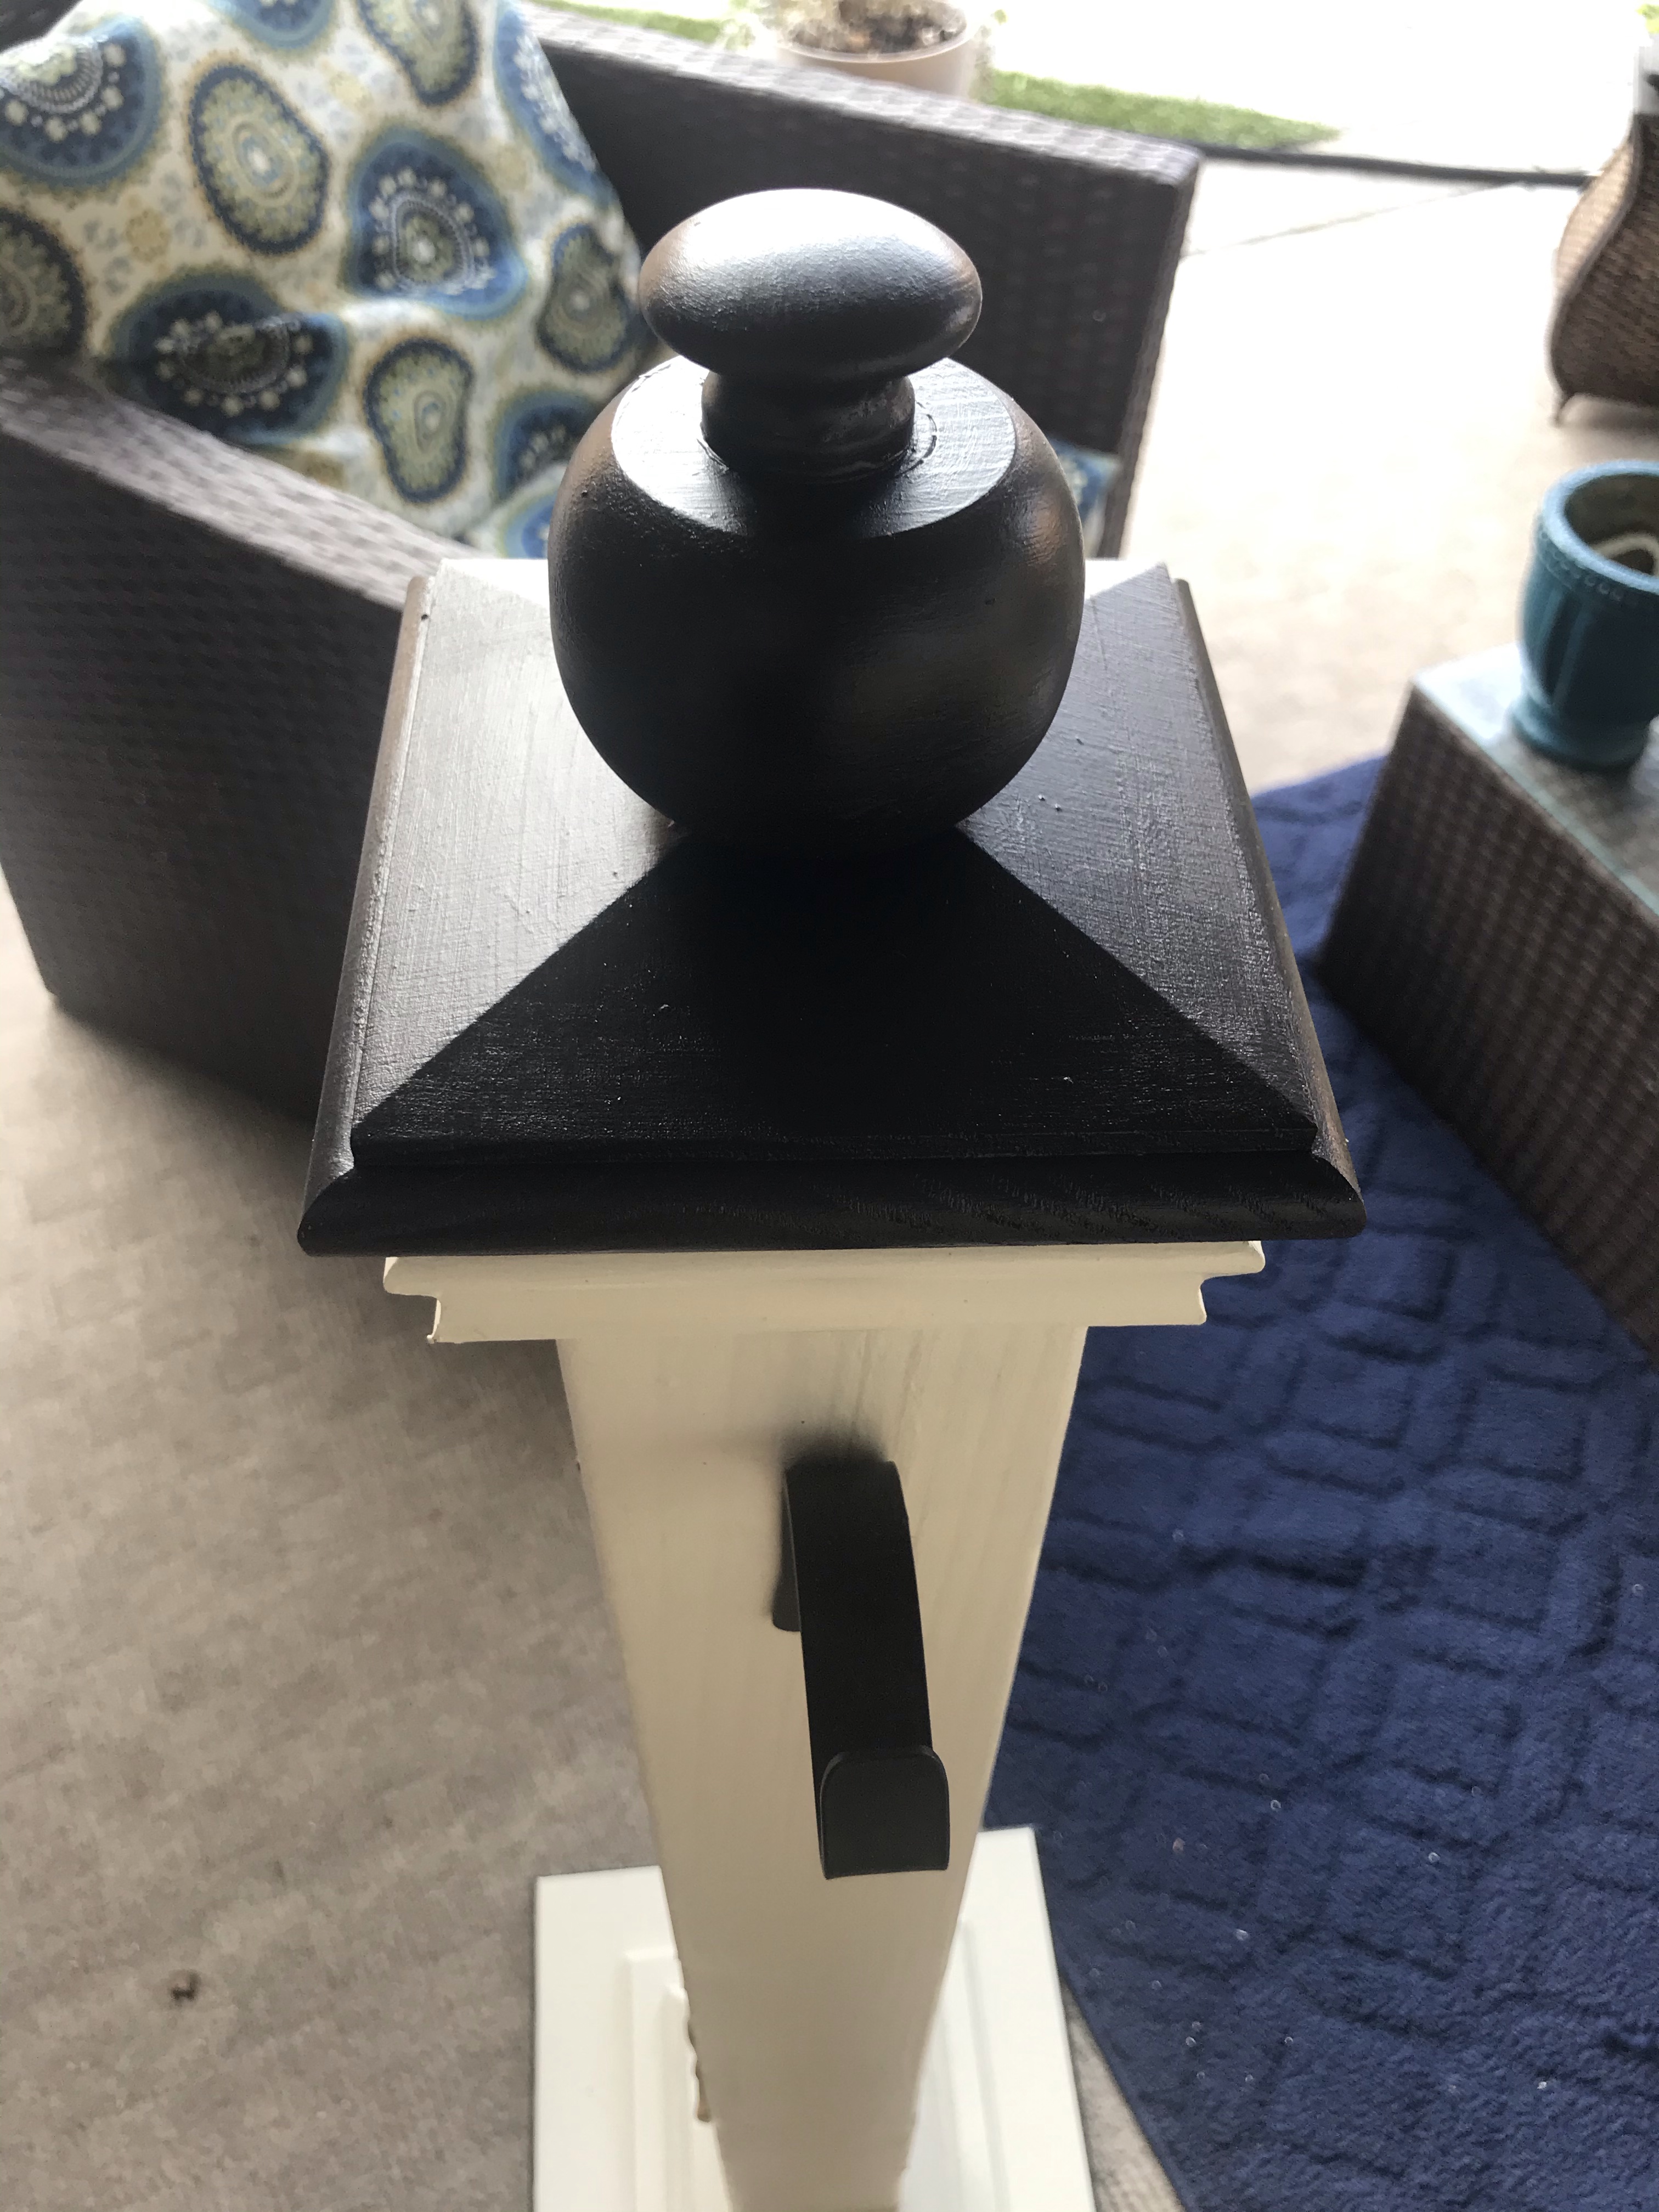
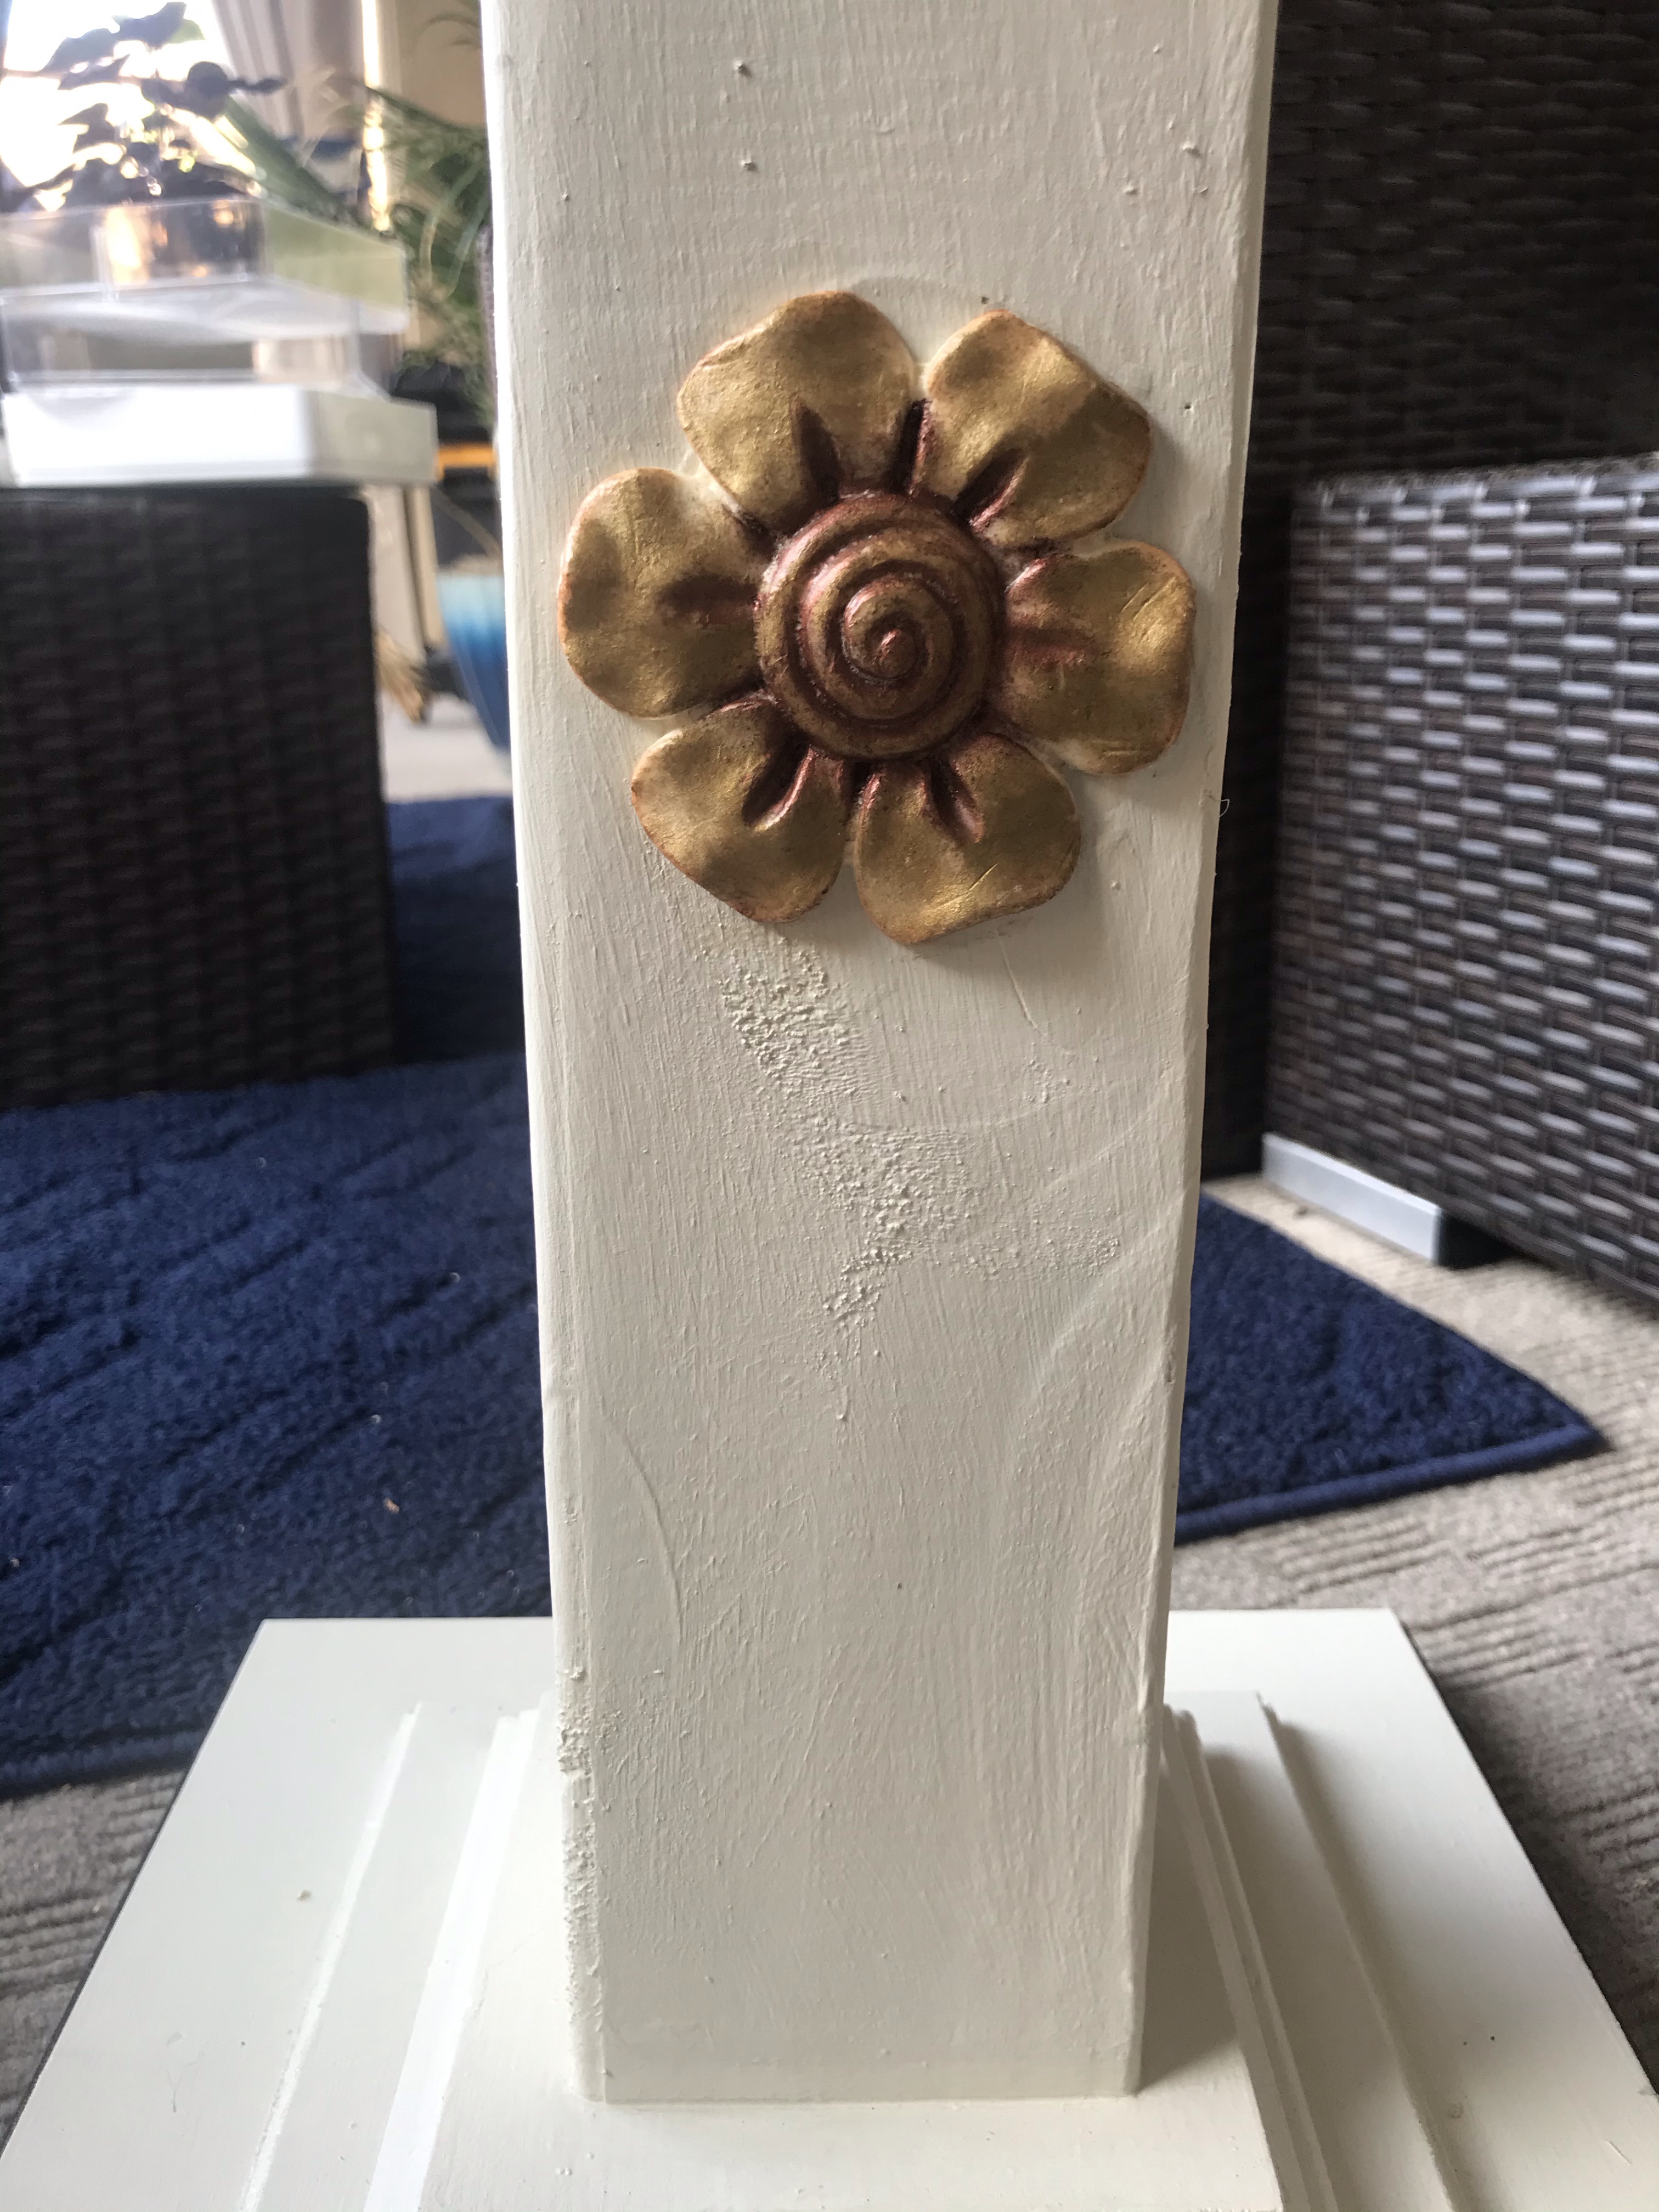
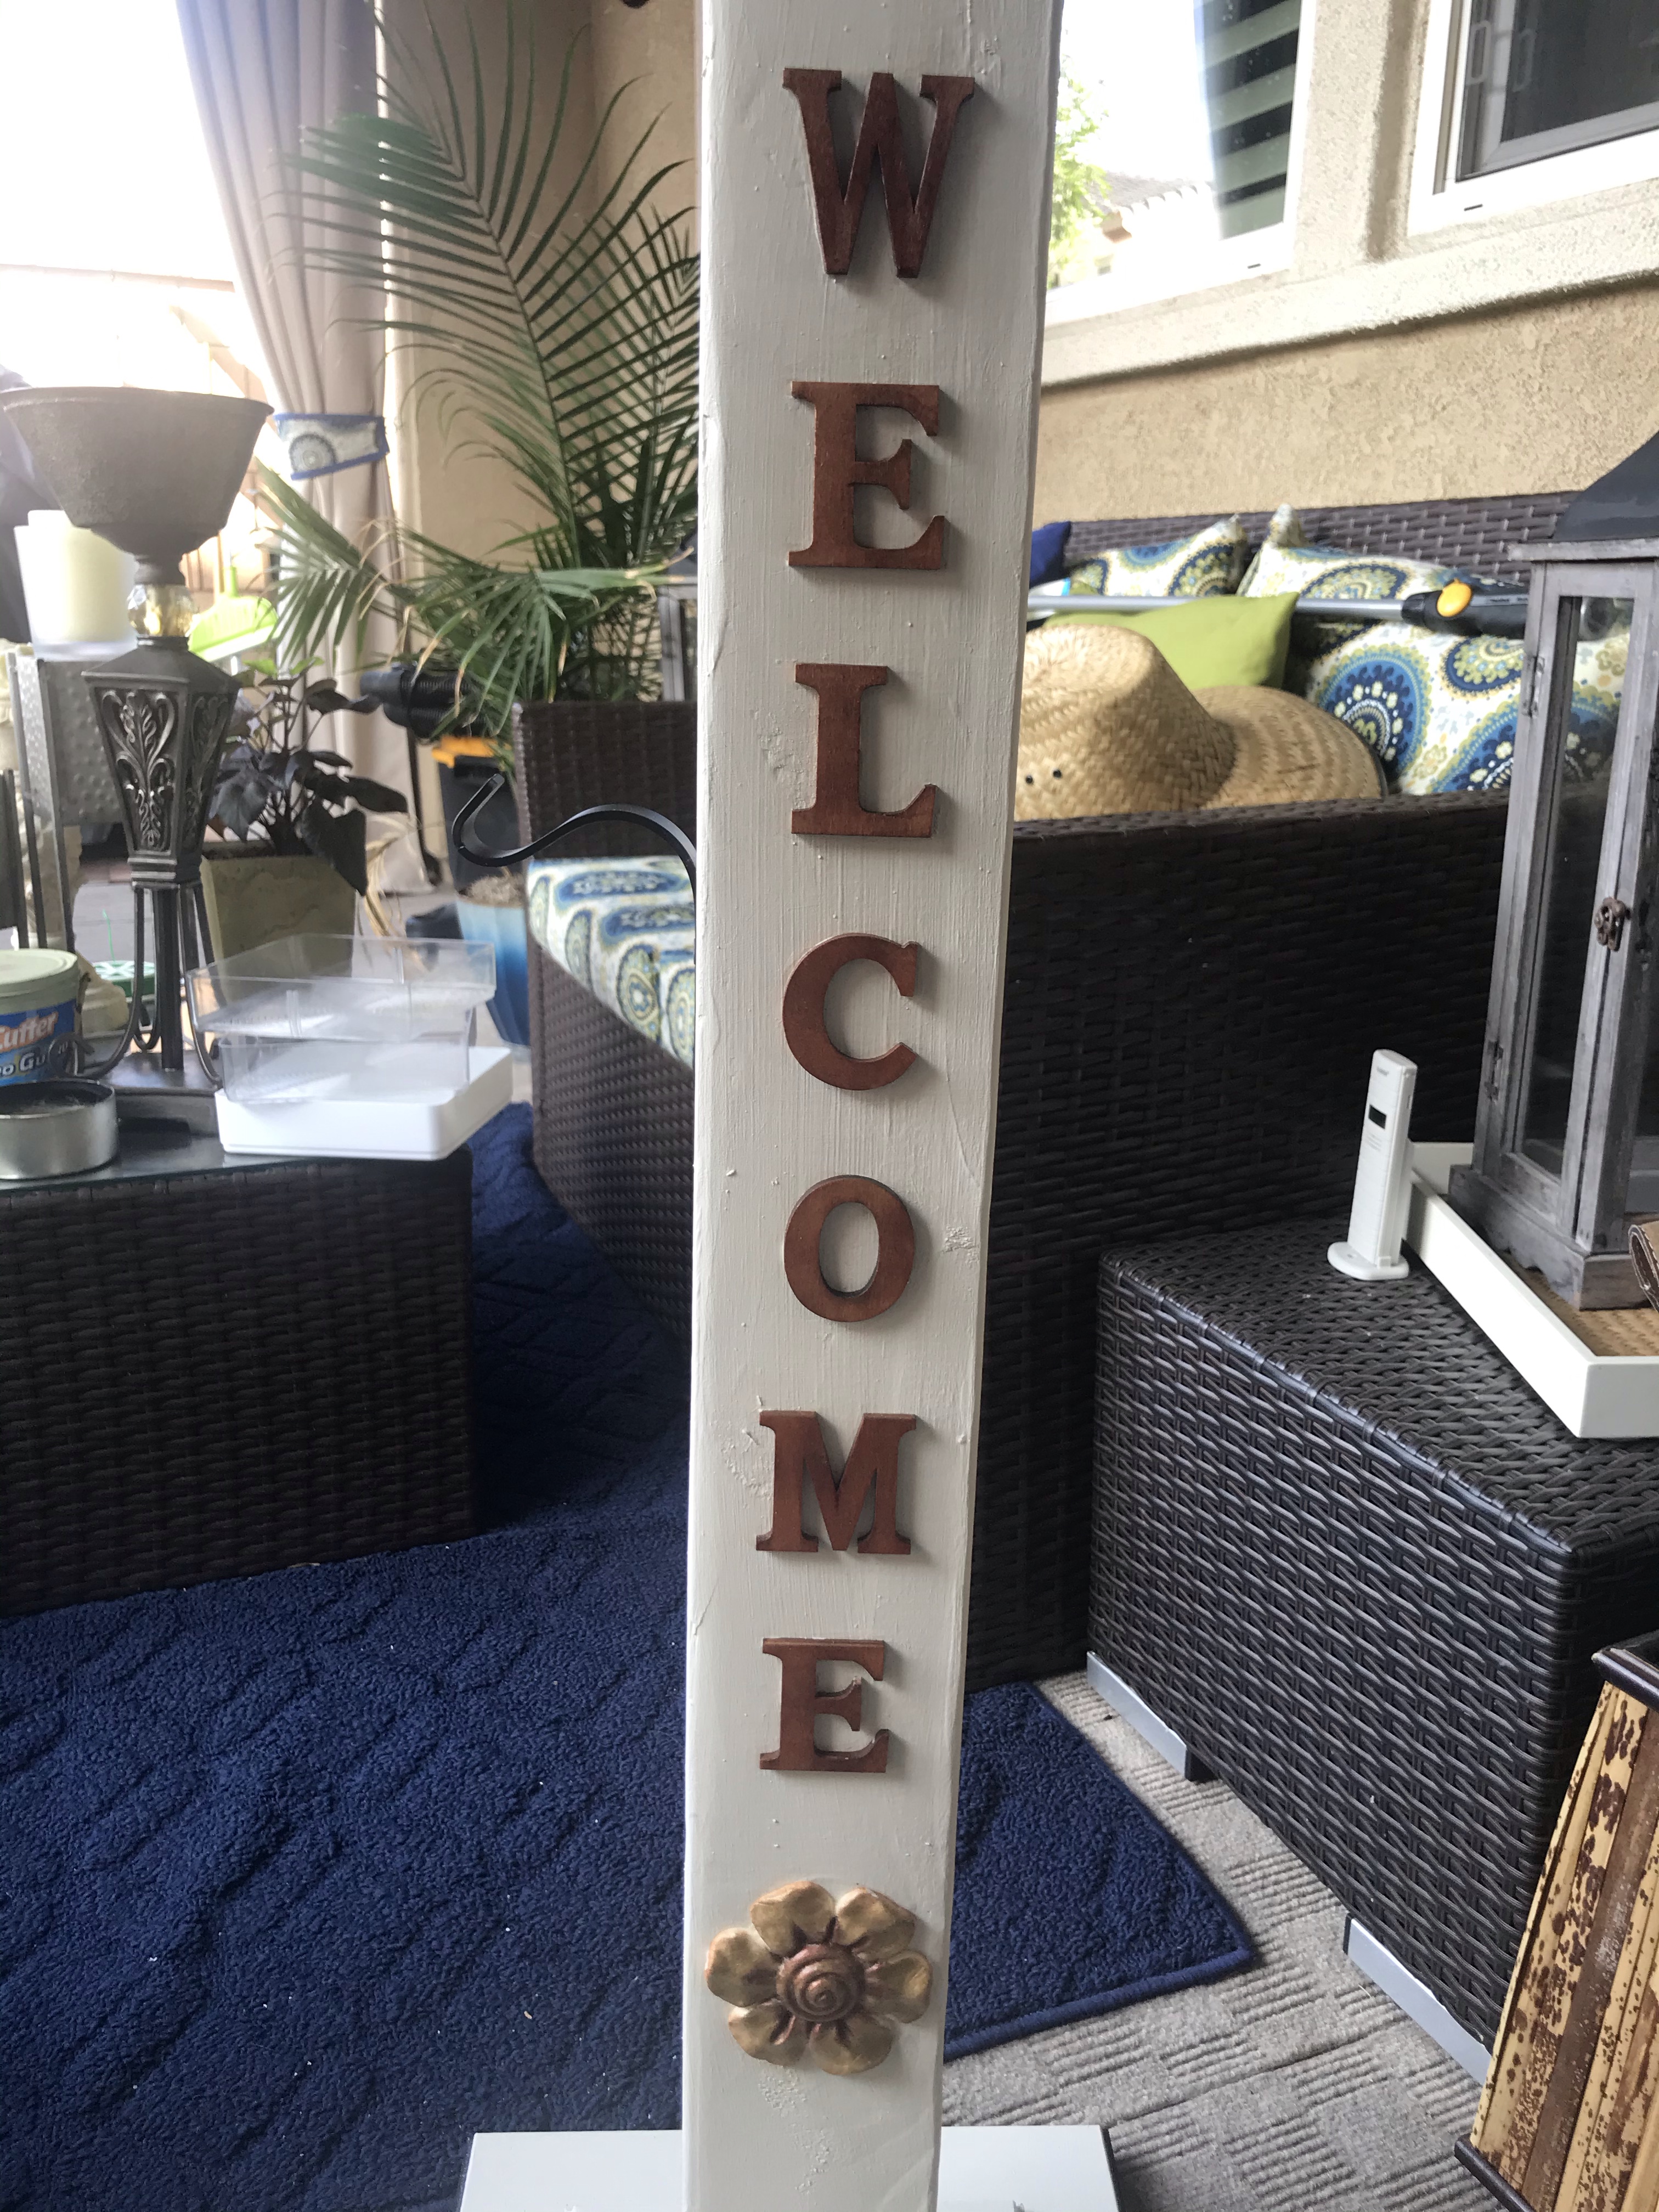
The post measures approximately 44″ tall and has a 12″ X 12″ base. It features wood letters stained with Ranger/Tim Holtz Distress Ink in “Vintage Photo”. I used my “go-to” black acrylic paint from Liquitex in “Mars Black”. The creamy white top coat is Sherman Williams WeatherShield Paint in “Aged White”. The hardware was purchased through Amazon. I added a floral touch to the post with a 3D foam flower I had in my craft supplies. I decorated the flower Finnabair “Vintage Gold” and “Rich Copper” Metallique Wax Cire Cera. Lastly, I sealed the post with Minwax Polycrylic in “Clear Matte”.


Have Fun with Decorative Masks

I’ve been making and donating masks since early March of this year. I continue to make masks most every day or weekly. (made and donated a little over 300 masks) While I enjoy making, I started to have a little fun thanks to my sister Mary, who made some really nice “bling’d out” masks for our nieces. She inspired me.

I dug out my fabric stash and bling embellishments and started to play. Here are a few of masks I recently made.

I continue to keep mask fundamentals incorporated into the fun masks (i.e., 100% cotton, filter pocket, adjustable ear elastic, etc), that I am making.

It’s nice to add creative and fun designs to masks. Masks do not have be utilitarian looking. I know however, some people need a generic looking masks for their occupation or work requirement. I have made several for correction officers and EMTs. I consider the creative style masks as “weekend wear masks”, something to put on that’s fund but has the protection the CDC and scientists/doctors are recommending.

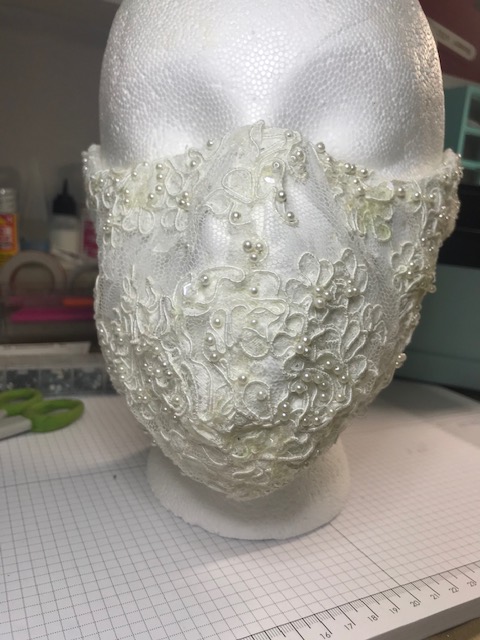
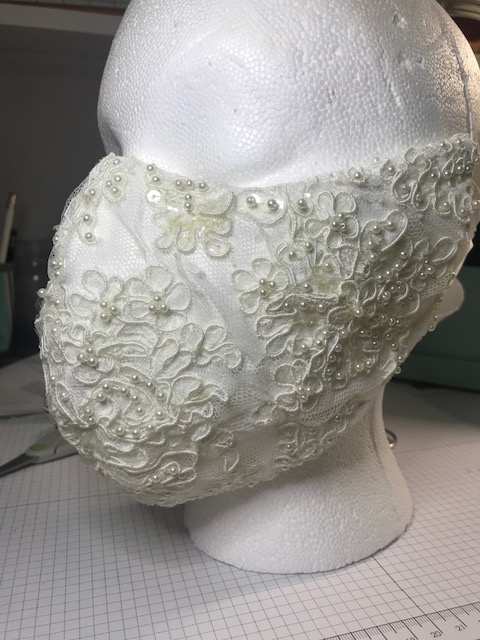
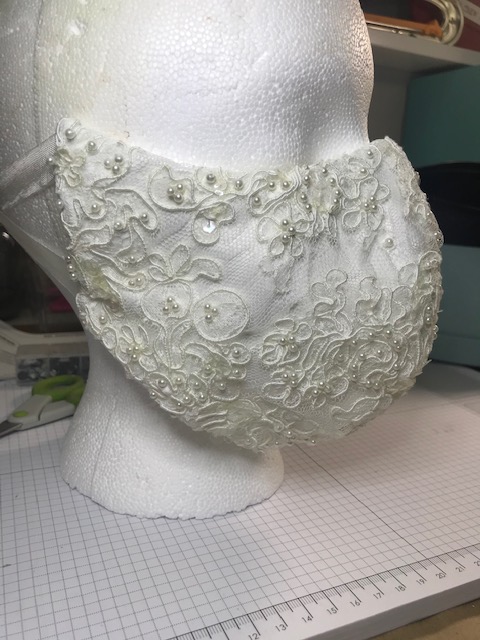
I was pleased with how the bridal mask turned out. I hand beaded the lace which was overlayed over a liner fabric for breathability.

I ended up selling two of these masks. Both customers were gifting them to brides-to-be for their upcoming weddings.

This next one was fun to make. It was the first time I used a rhinestone setter. I like the breathability of the stretch denim, also lined with a cotton fabric. The lace in the pocket added a bit of “denim and lace” style.

For my next “fun mask”, I plan to use some HTV. I’ve used HTV before, but not very experienced, so making a few masks with HTV will cross this learning curve off my crafting bucket list for the year!

I look forward sharing more fun masks with you and I hope you are inspired to create your fun masks.

Stay safe and health.