Quick Sewing Project

It’s been awhile since I’ve posted anything. Still crafting, papercrafting, and doing mixed media art as well as creating, and designing.

I wanted to share a sewing project I just completed. In a way, this is a collaboration with my artist son (ryanhandicraft), https://www.spoonflower.com/profiles/ryanhandicraft.

So here is the backstory.

My son has been creating and designing with cyanotype. He is a fabulous artist and dabbles in various art mediums and styles. I saw his finished design of this print (link above) and decided it would make a great top or dress. I had collaborated with him before on one of his citrus prints, so I was super excited to use another one of his designs.

I am currently working with a client on some of her designs (more about that later), by making her patterns and sewing her designs. So, I knew I wanted something quick to stitch up. I haven’t had much time to sew for myself, and was happy to grab some free time to work on something for the summer. In comes simplicity.com and Butterick Patterns (B6784). The perfect pattern for a summer dress and my son’s graphic design. I already purchased the fabric and was waiting for the right pattern inspiration.

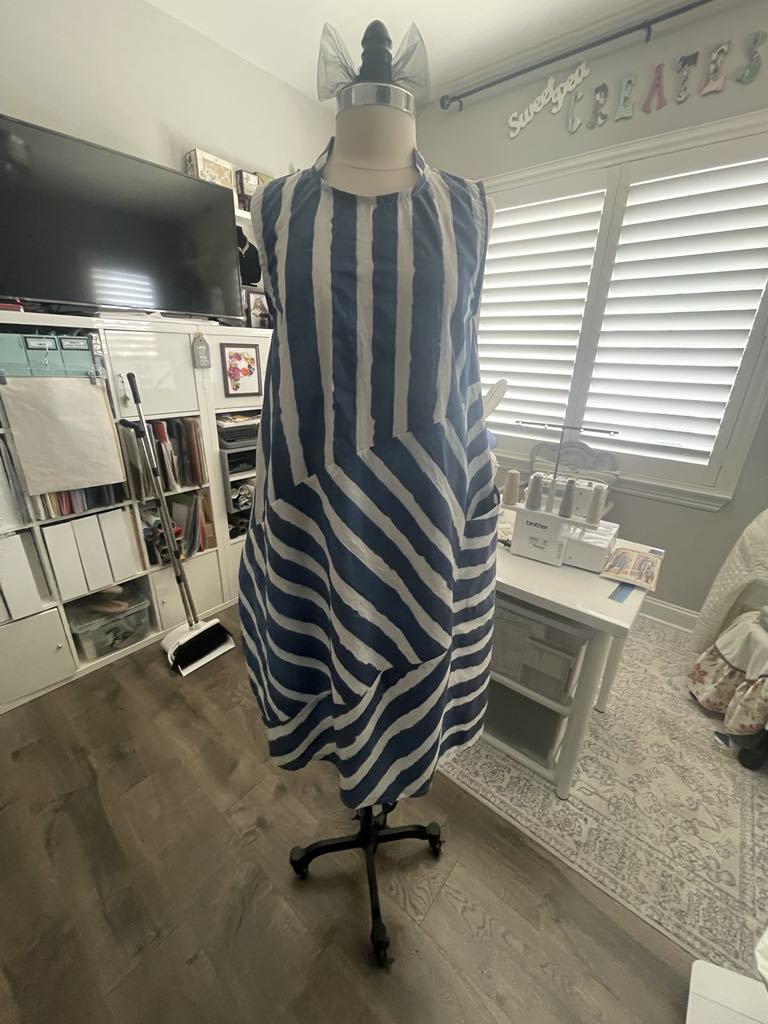
I wanted something that was light and machine washable. I ordered the cyanotype print in Cotton Lawn fabric. I pre-washed it and it came out great. Nice breathable and flowy fabric. Perfect for the hot summers we have each year.

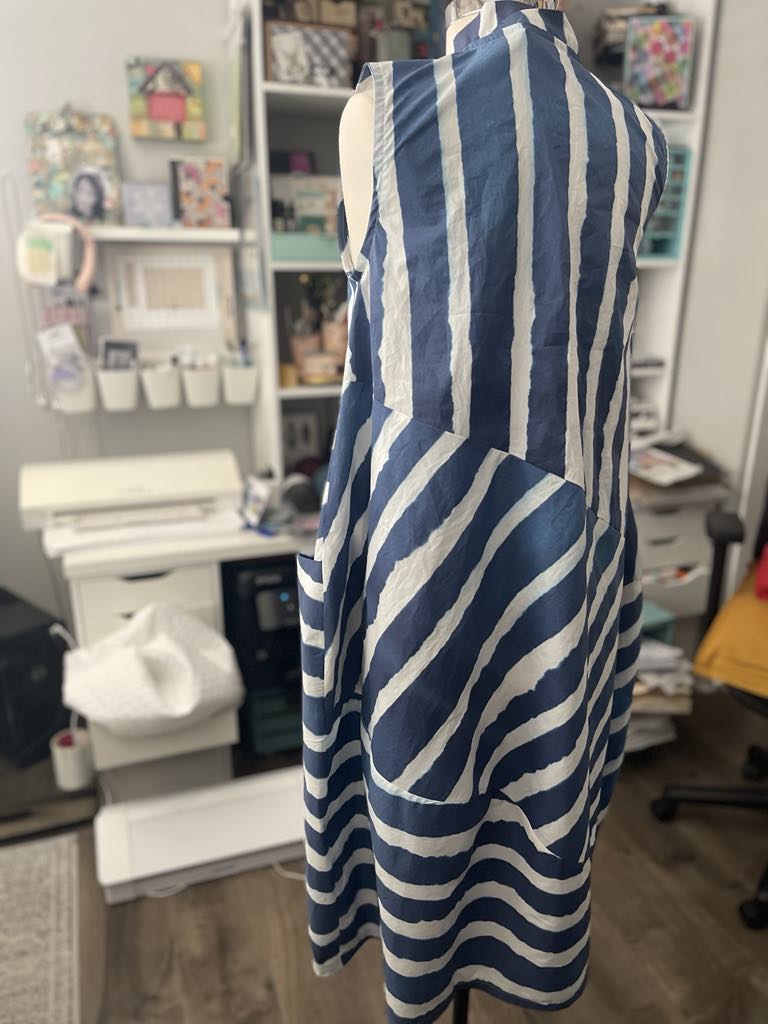
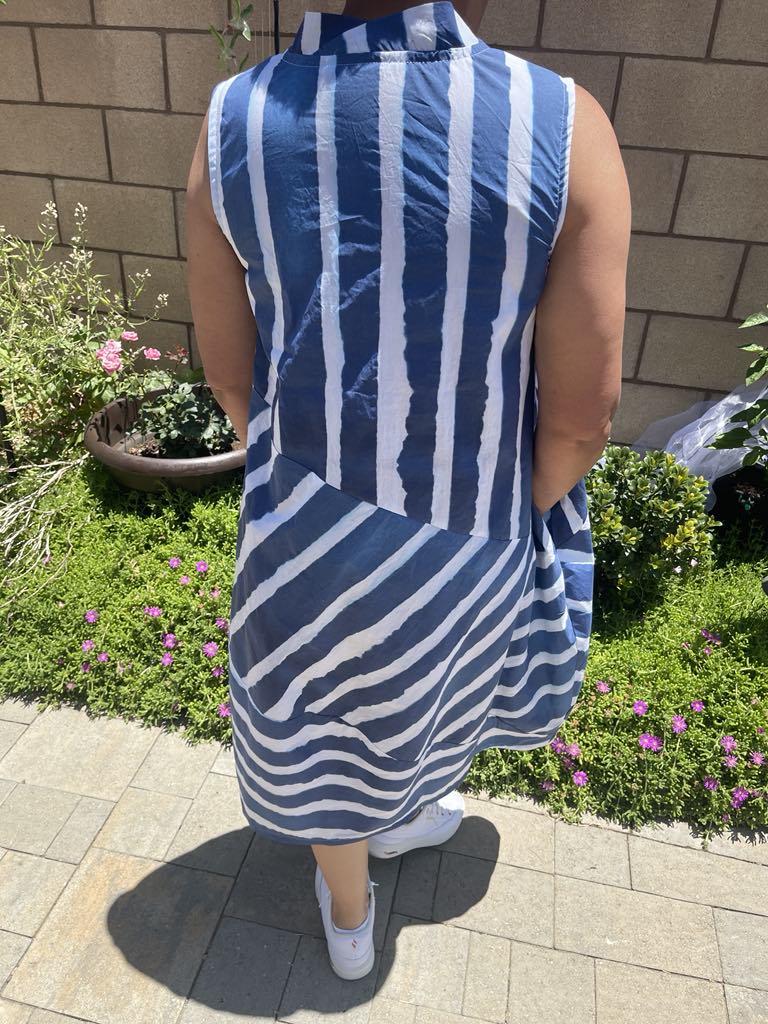
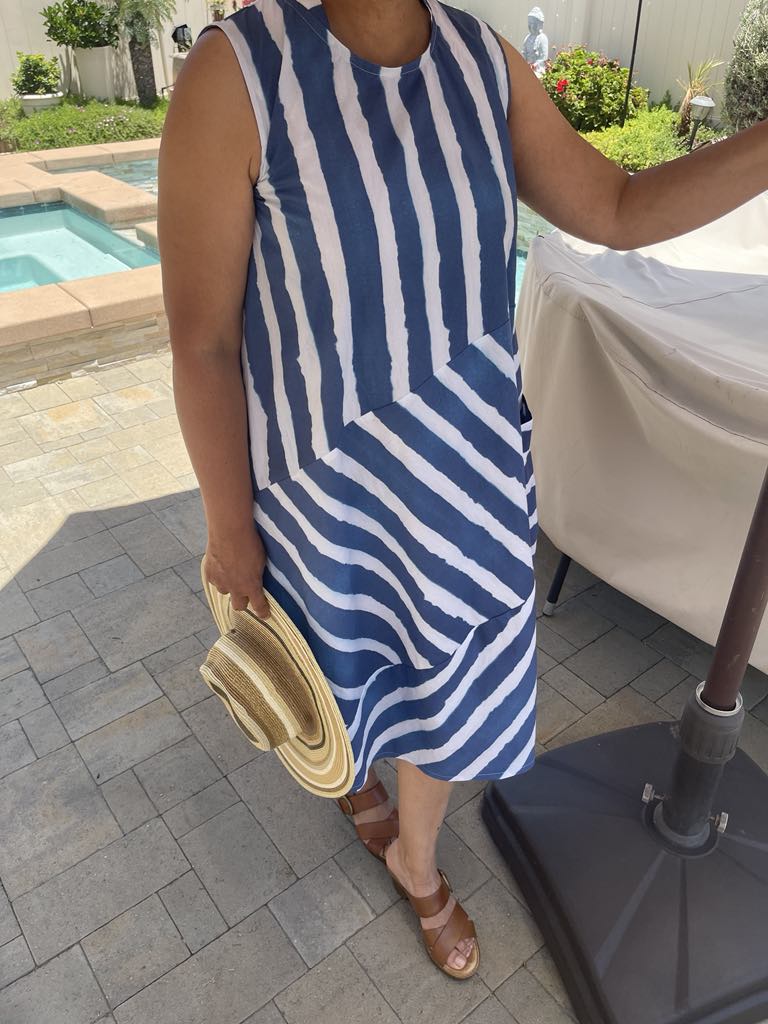
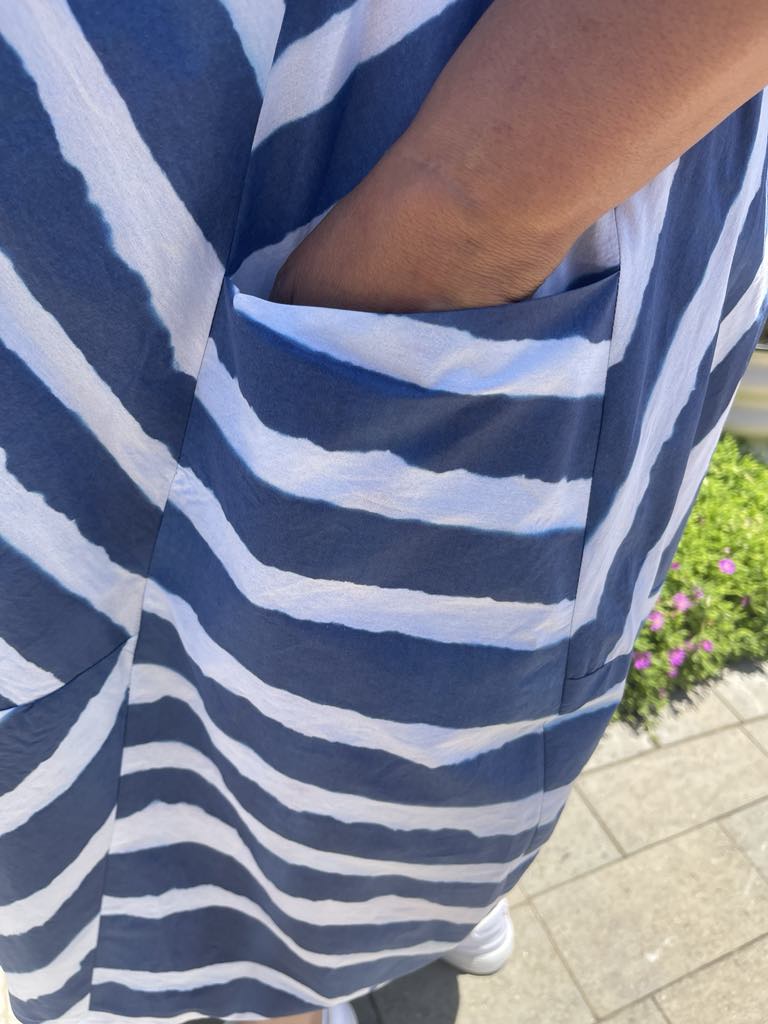
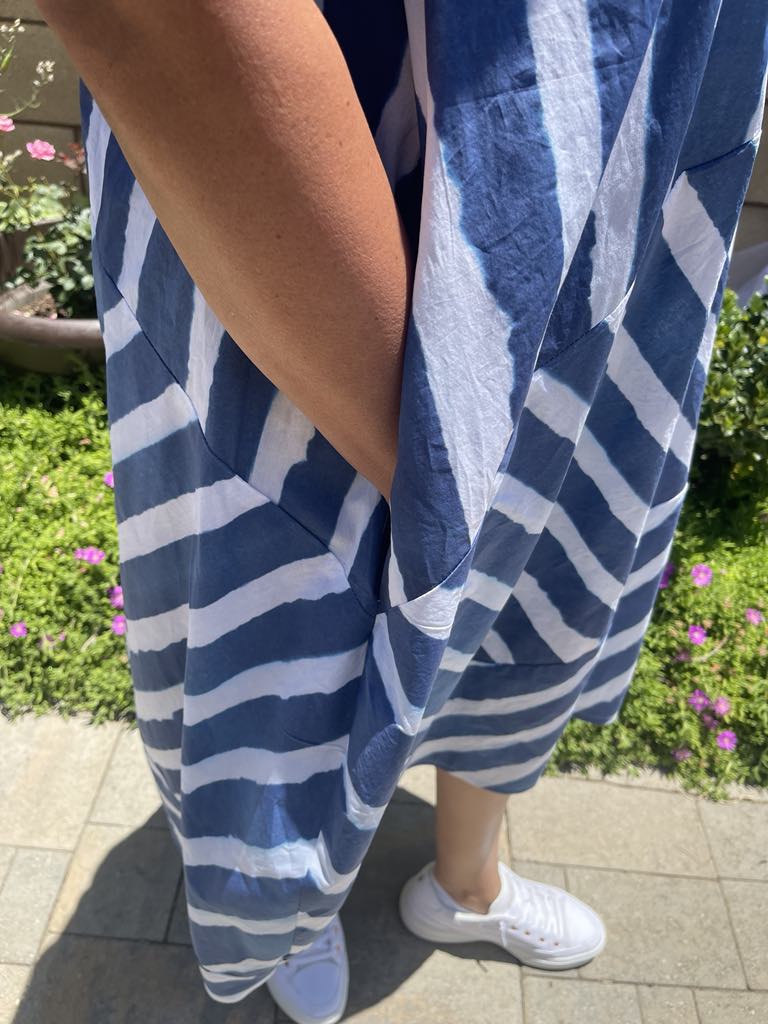
I love the look of this dress. It is perfect for lounging, has a resort type feel, can be dressed up or down with sneakers or sandals. You could even add a light-weight sweater or jacket if the weather gets cool. The bold blue and white stripes and irregular edge of the striping design is a fresh take on traditional striped fabric. The variation in the tone of the print also makes the print unique. It also helps that blue is my favorite color :).

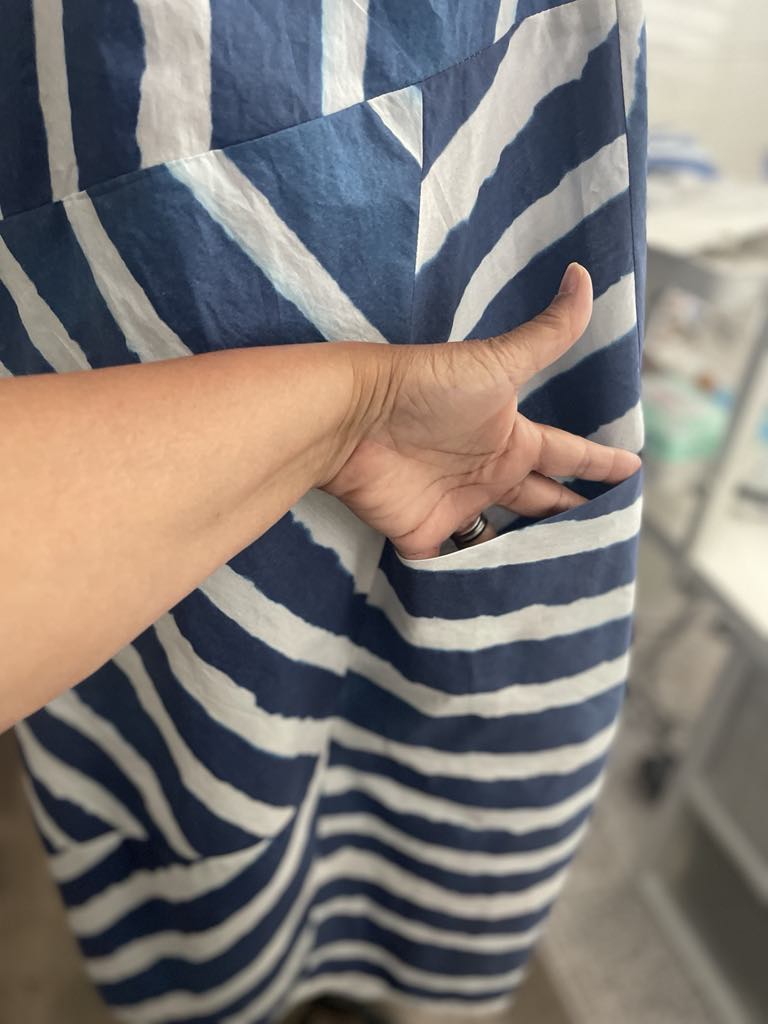
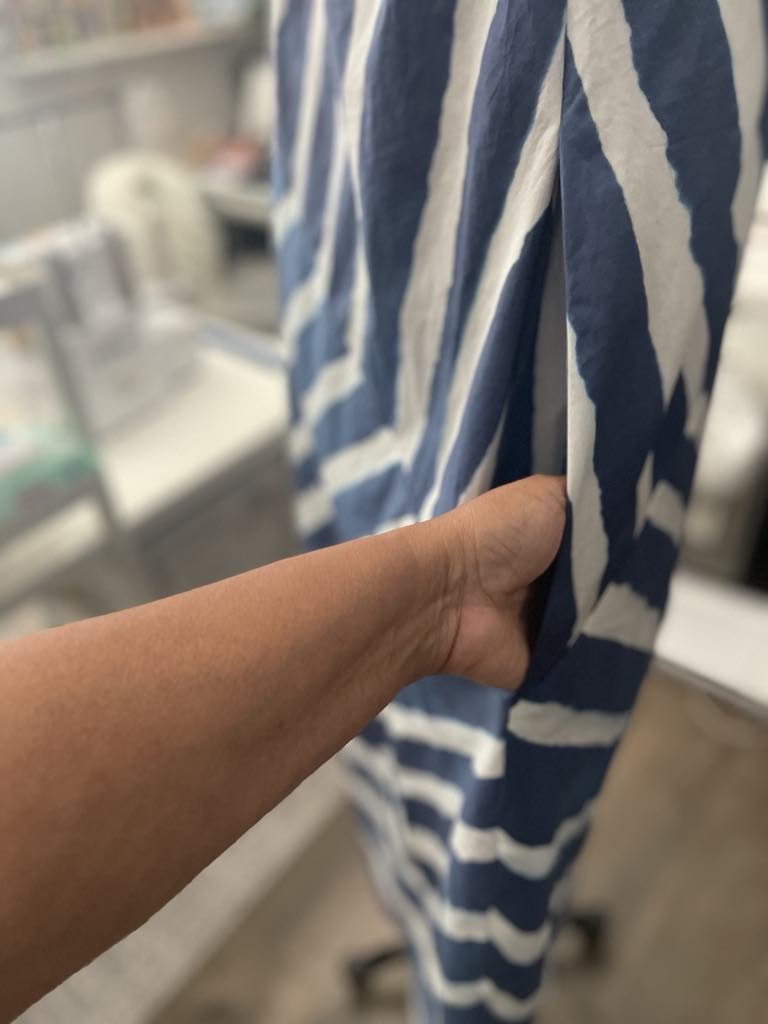
Another feature of this pattern is the two types of pockets. One is the traditional side pocket and the other pocket is a slip pocket made into the front of the dress. I love to have pockets in my outfits. Pockets eliminate the need for carrying a purse and that is always a plus in my opinion. The pockets in this pattern are deep enough for a cell phone or small wallet, car keys, or small personal items.

Look forward to collaborating with @ryanhandicraft on another project!


Keepsake Clock Box: Featuring Fancy Pants Designs’ “Fruitcake & Tinsel”

I transformed a recycled tea box into a whimsical clock, that functions, and a keepsake box to hold cherished holiday photos and treasures.

Some of the elements used in this design include:

-Silhouette America Design #10936 – Abstract Damask Swirls

-Silhouette America Design #16984 – Slider Set Squares

-Liquitex Mars Black Acrylic Paint -Recollections cardstock

-American Crafts textured cardstock

-Prima Marketing Inc., Metallique Wax Cire Cera in Vintage Gold

-Judikins Diamon Glaze Water-based Dimensional Adhesive

Please subscribe to my YouTube Channel. Don’t forget to give me a “thumbs up”, and click the “bell” to receive notifications.

You can also find me through this link: https://linktr.ee/designwishesbypamela


Mini Wood Palette Father’s Day Gift Idea

Need a quick and clever gift for Father’s Day?

I designed and created this desk caddy using mini wood palettes I purchased from my local Dollar Tree Store!

Check out my YouTube video on how I put together these cute little caddies. I give you the measurements and supplies I used to create each of these caddies. The pocket feature will fit a gift card too!

I hope you enjoy this project.

Thanks so much for watching.


Capitol Chic Designs – Traveler’s Notebook Design Project

Today I am sharing a new completed design project using two different paper collections from from Capitol Chic Designs.

I used a 12″ X 12″ paper pad collection and a 6″ X 6″ paper pad collection. I coordinate the cut-a-parts from the Capitol Chic Designs collections with some additional ephemera and embellishments from my craft supplies which include Little Yellow Bicycle Journaling cards, ephemera packs from Art~C, Tim Holtz Ideology Page Pockets, and Journal Cards from Studio Calico. I mainly used Bearly Art Glue to adhere the notebook pages and elements, and used Kraft-tex Kraft Paper Fabric along with HeatnBond to adhere the designer paper on the cover.

For this design project, I created a traveler’s notebook full of pockets, pages, tuck spots, photo mats and much more!

You can see a full review of this project in the video below and on my YouTube channel.

Thank you so much for following me!


Textured Canvas Panel Design

Since Mother’s Day is just around the corner, I was inspired to create this canvas panel.

The photo is of my husband and his mother, one of my favorite photos of the two of them.

This photo could not be enlarged, and I so wanted it hang on our home gallery wall with the other family photos. I gave up many times trying to get a printing shop and online source to enlarge the photo for me.

Then the inspiration came!

I took an Artist’s Loft 12″ X 12″ Canvas Panel and coated it with Liquitex Acrylic Gesso. I swirled the gesso in a pattern with my pallet knife. Then, I remembered a technique I saw my artist son, @ryan_babers_art, showed me. Before the gesso dried, I salted (with ordinary table salt) the canvas panel. I allowed the gesso and salt to completely dry before I applied the next steps.

Once the canvas was dried, I did a light (watered down the paint) brushing with Liquitex Mars Black Acrylic Paint and Art Alchemy Sparks Paint in Ginger Magic. From there, I let this layer dry then I misted the canvas with regular 70% Isopropyl Alcohol and applied alcohol inks from @rangerink and @tim_holtz (Oregano, Cranberry, Lettuce, Butterscotch, Botanical, Patina, and Espresso). Misting the canvas with the Isopropyl Alcohol allowed the alcohol inks to flow fluidly together. Then waited for this layer to dry. I really like how the Sparks paint came through the alcohol inks just enough to have a bit of shimmer.

I used a small ceramic frame from Michael’s Store for the photo. I painted the frame with the Mars Black acrylic paint then went over the black (once it was dry) with Liquitex Iridescent Bright Gold Ink.

To make the floral accents, I used @graphic45 “Floral Shoppe” paper collection. I “fussy cut” sections of flowers motifs from a sheet of the designer paper. I then cut “mats” to go around each motif from black Recollections brand cardstock. I inked the edges of the cardstock with the Iridescent Bright Gold ink. I mounted the floral motifs onto the black cardstock with foam dots (thin, not thick foam dots), and adhered each motif onto the canvas with hot glue. Two additional floral pieces were created using a Graphic 45 Large Tag, ATC Tag & Flower Metal Dies. I used the larger flower die and some of the Floral Shoppe designer paper to create the flower on the lower right of the canvas. I took a thin strip of the designer paper and made the flower centers. I accented the centers with the Iridescent Bright Gold Ink.

The clock was created with a Graphic 45 Square Tag & Clock Metal Die set. I used the same black cardstock I used for the florals and a combination of Iridescent Bright Gold Ink, Art Alchemy Metallique Wax Cire Cera in Aged Brass and Rich Copper, and Art Alchemy Antique Brilliant Wax Cire Cera in Mystic Turquoise.

Lastly, I added some Iridescent Bright Gold Ink to the edges of a chipboard piece from the Floral Shoppe collection.

I truly love the way this canvas panel turned out. I’m happy that I used what I thought to be an unusable photo to create a piece that can be hung on our family gallery wall.

I hope this design project inspires you to salvage old photos, or photos that you thought could not be used or displayed.

Thank you so much for following me on this blog.