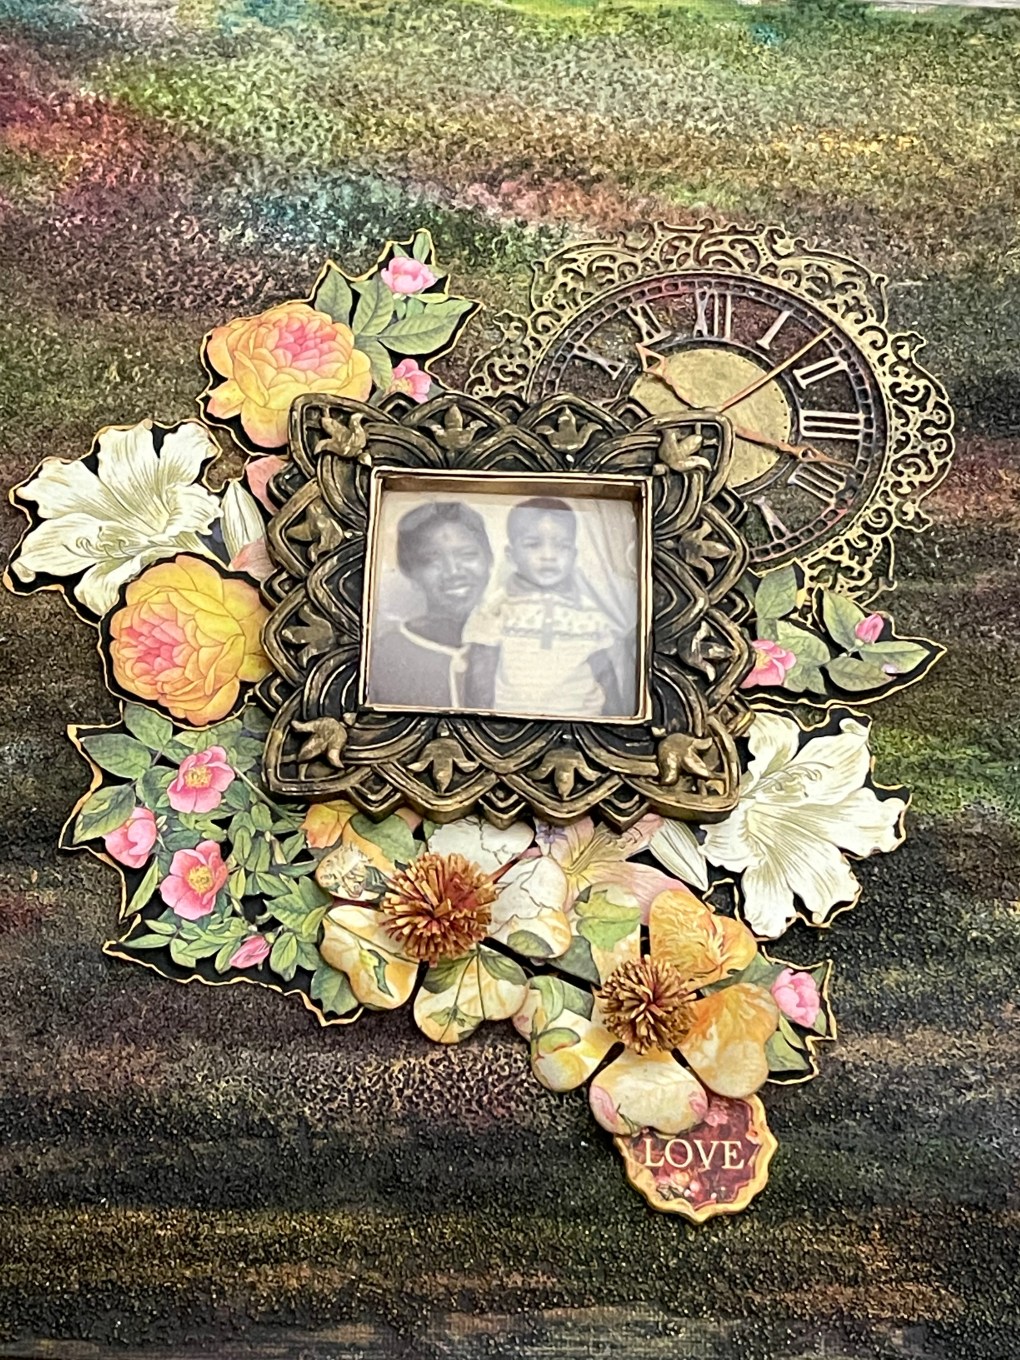
Since Mother’s Day is just around the corner, I was inspired to create this canvas panel.
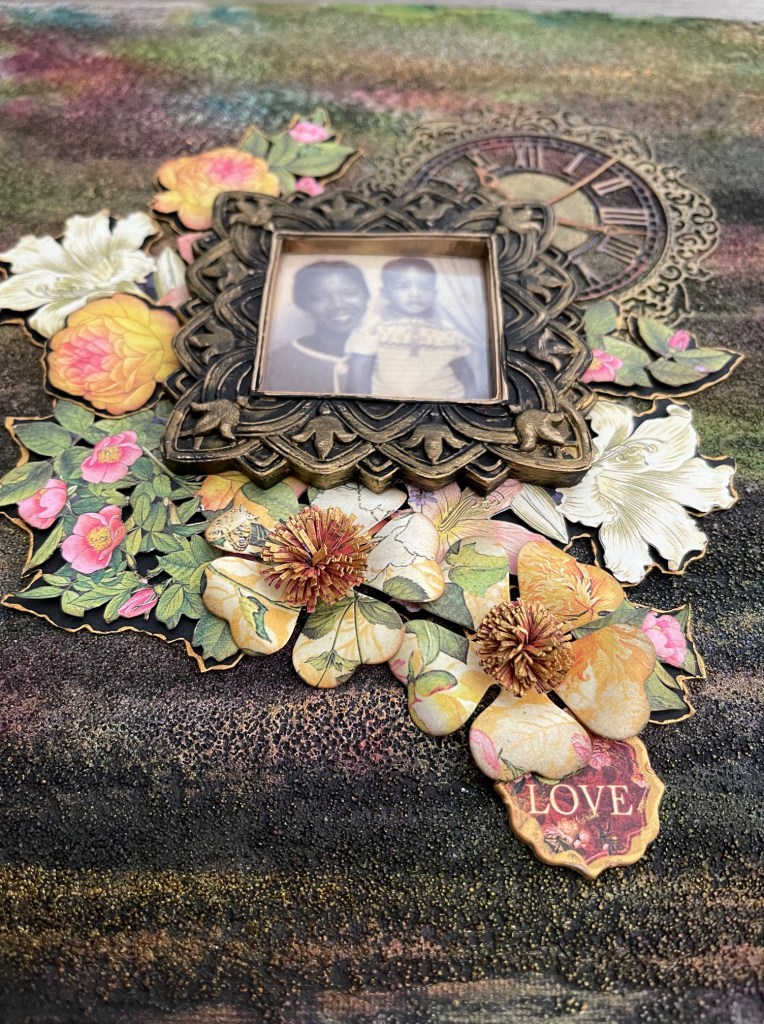
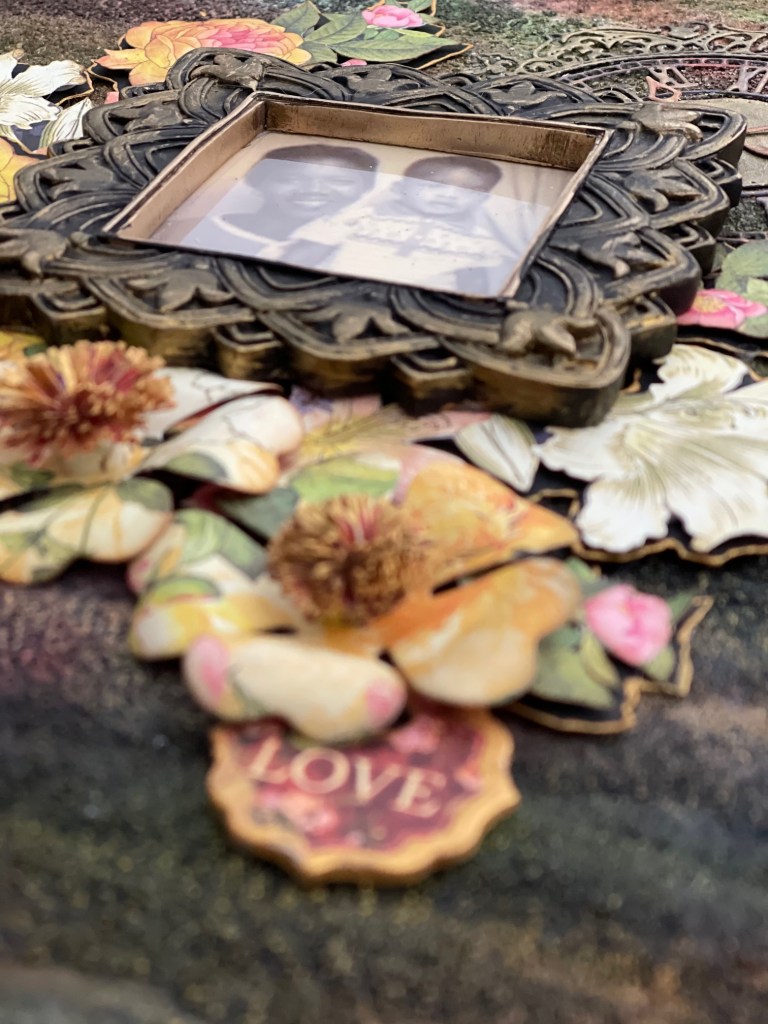
The photo is of my husband and his mother, one of my favorite photos of the two of them.
This photo could not be enlarged, and I so wanted it hang on our home gallery wall with the other family photos. I gave up many times trying to get a printing shop and online source to enlarge the photo for me.
Then the inspiration came!
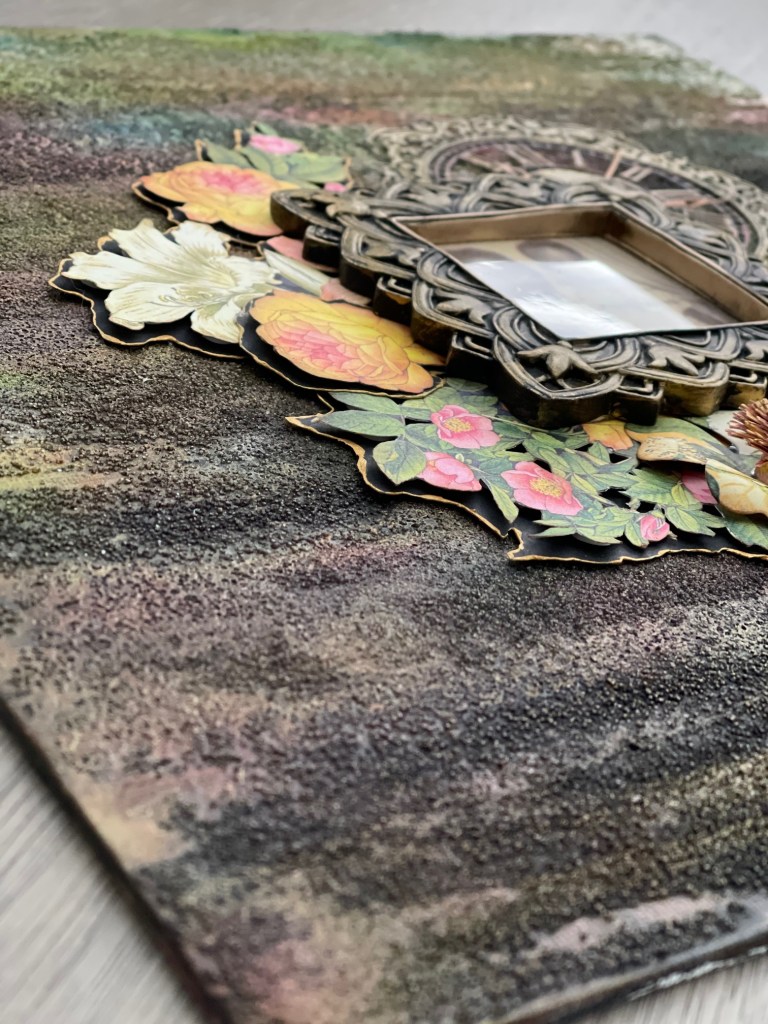
I took an Artist’s Loft 12″ X 12″ Canvas Panel and coated it with Liquitex Acrylic Gesso. I swirled the gesso in a pattern with my pallet knife. Then, I remembered a technique I saw my artist son, @ryan_babers_art, showed me. Before the gesso dried, I salted (with ordinary table salt) the canvas panel. I allowed the gesso and salt to completely dry before I applied the next steps.
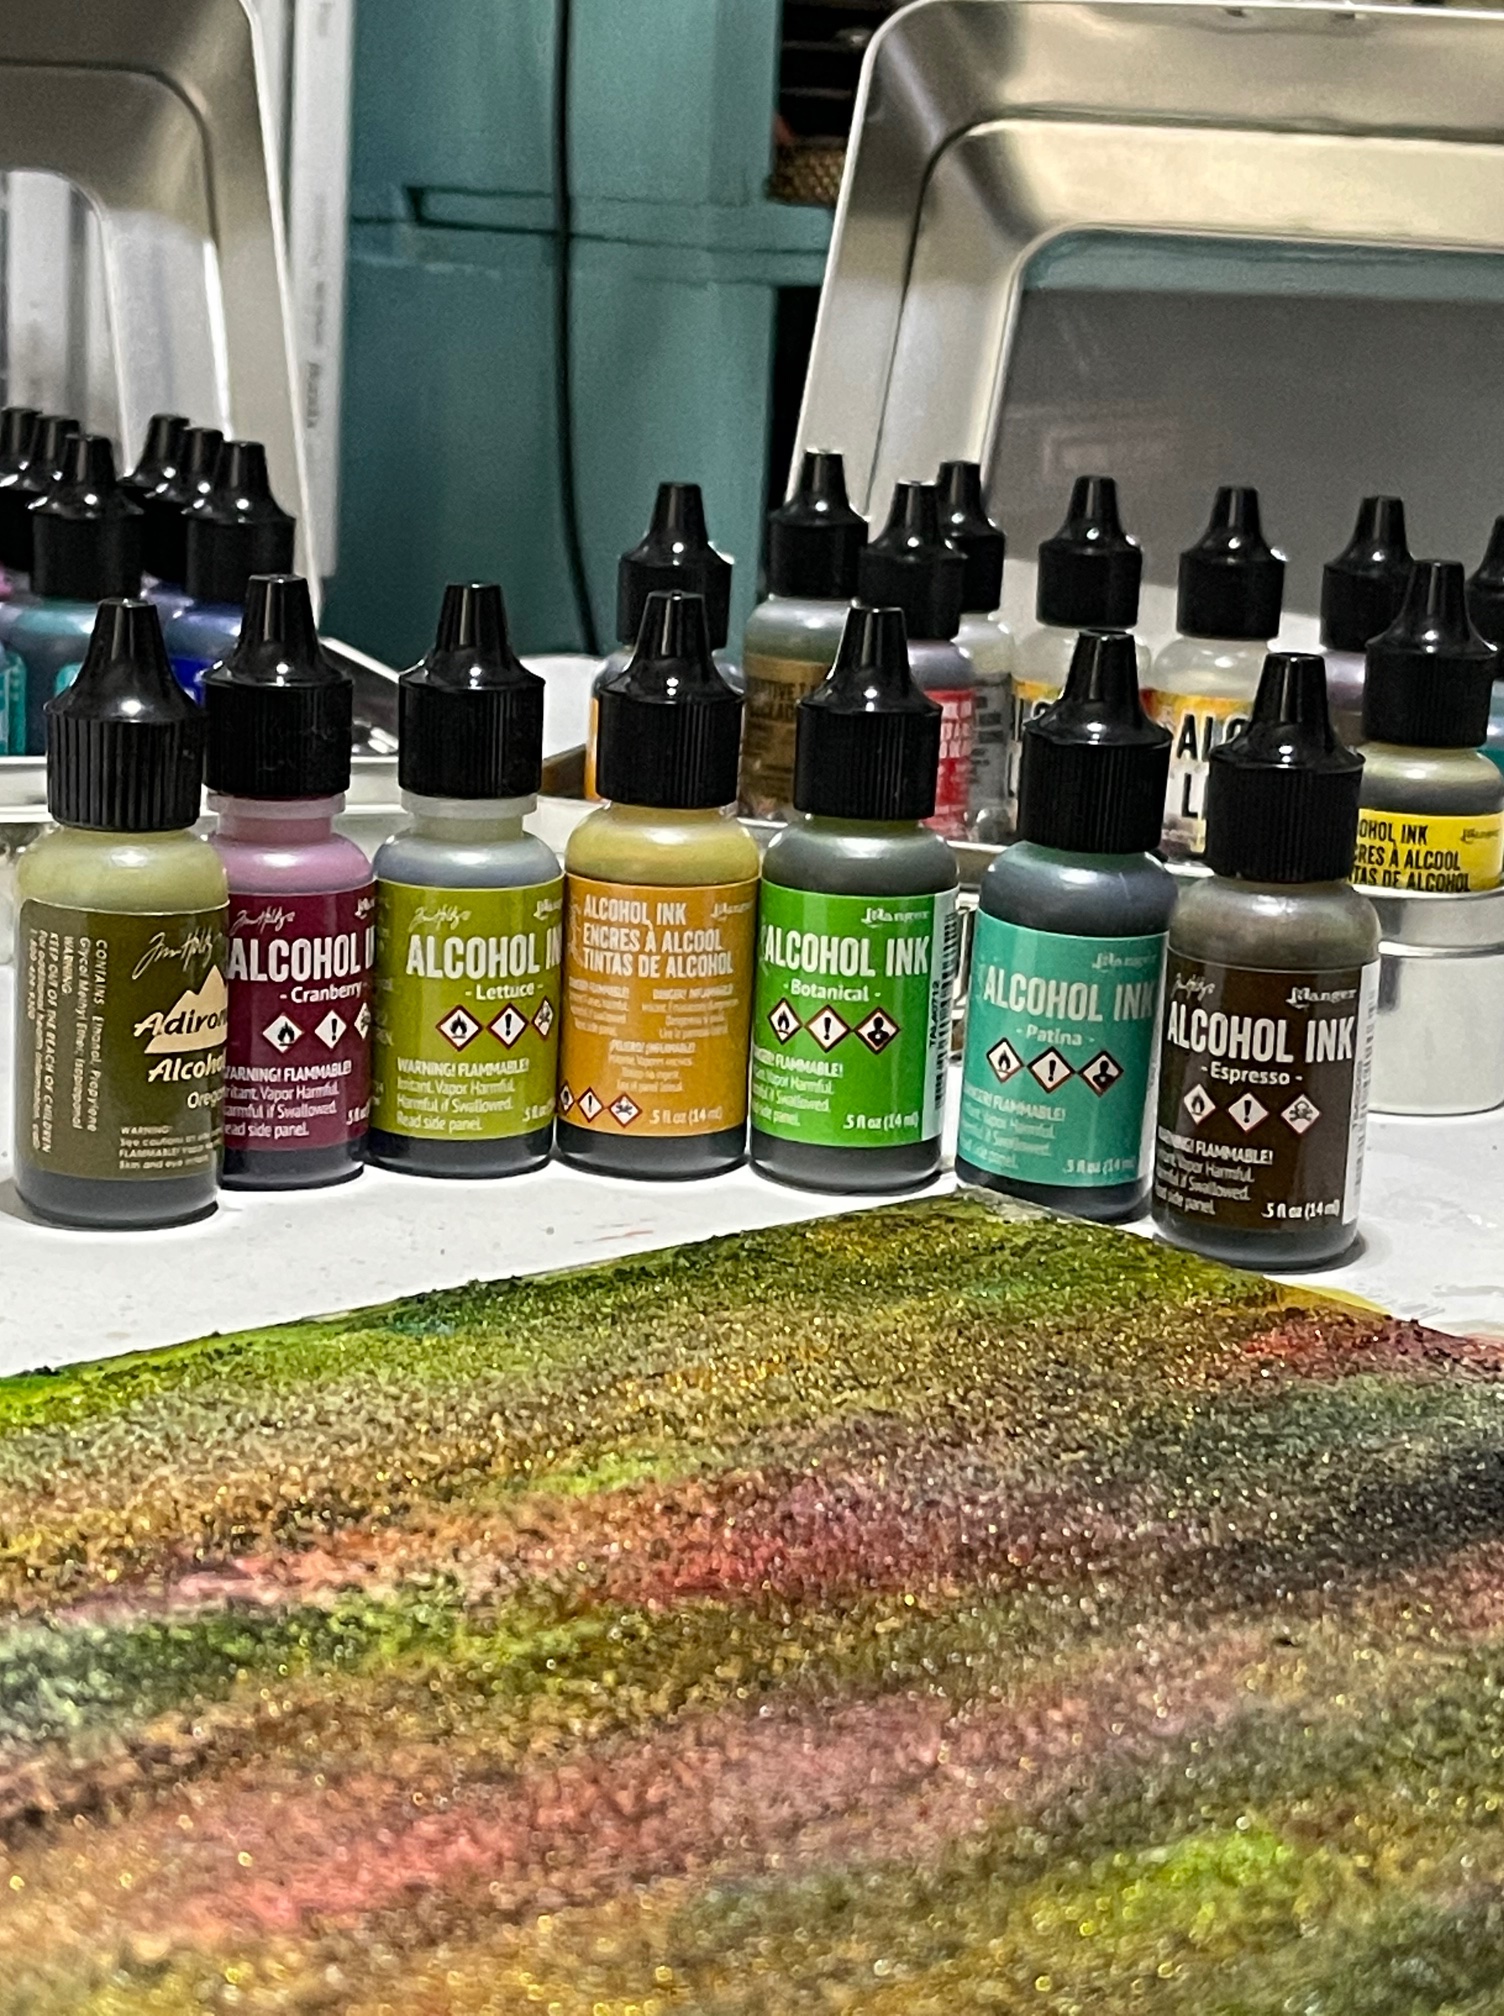
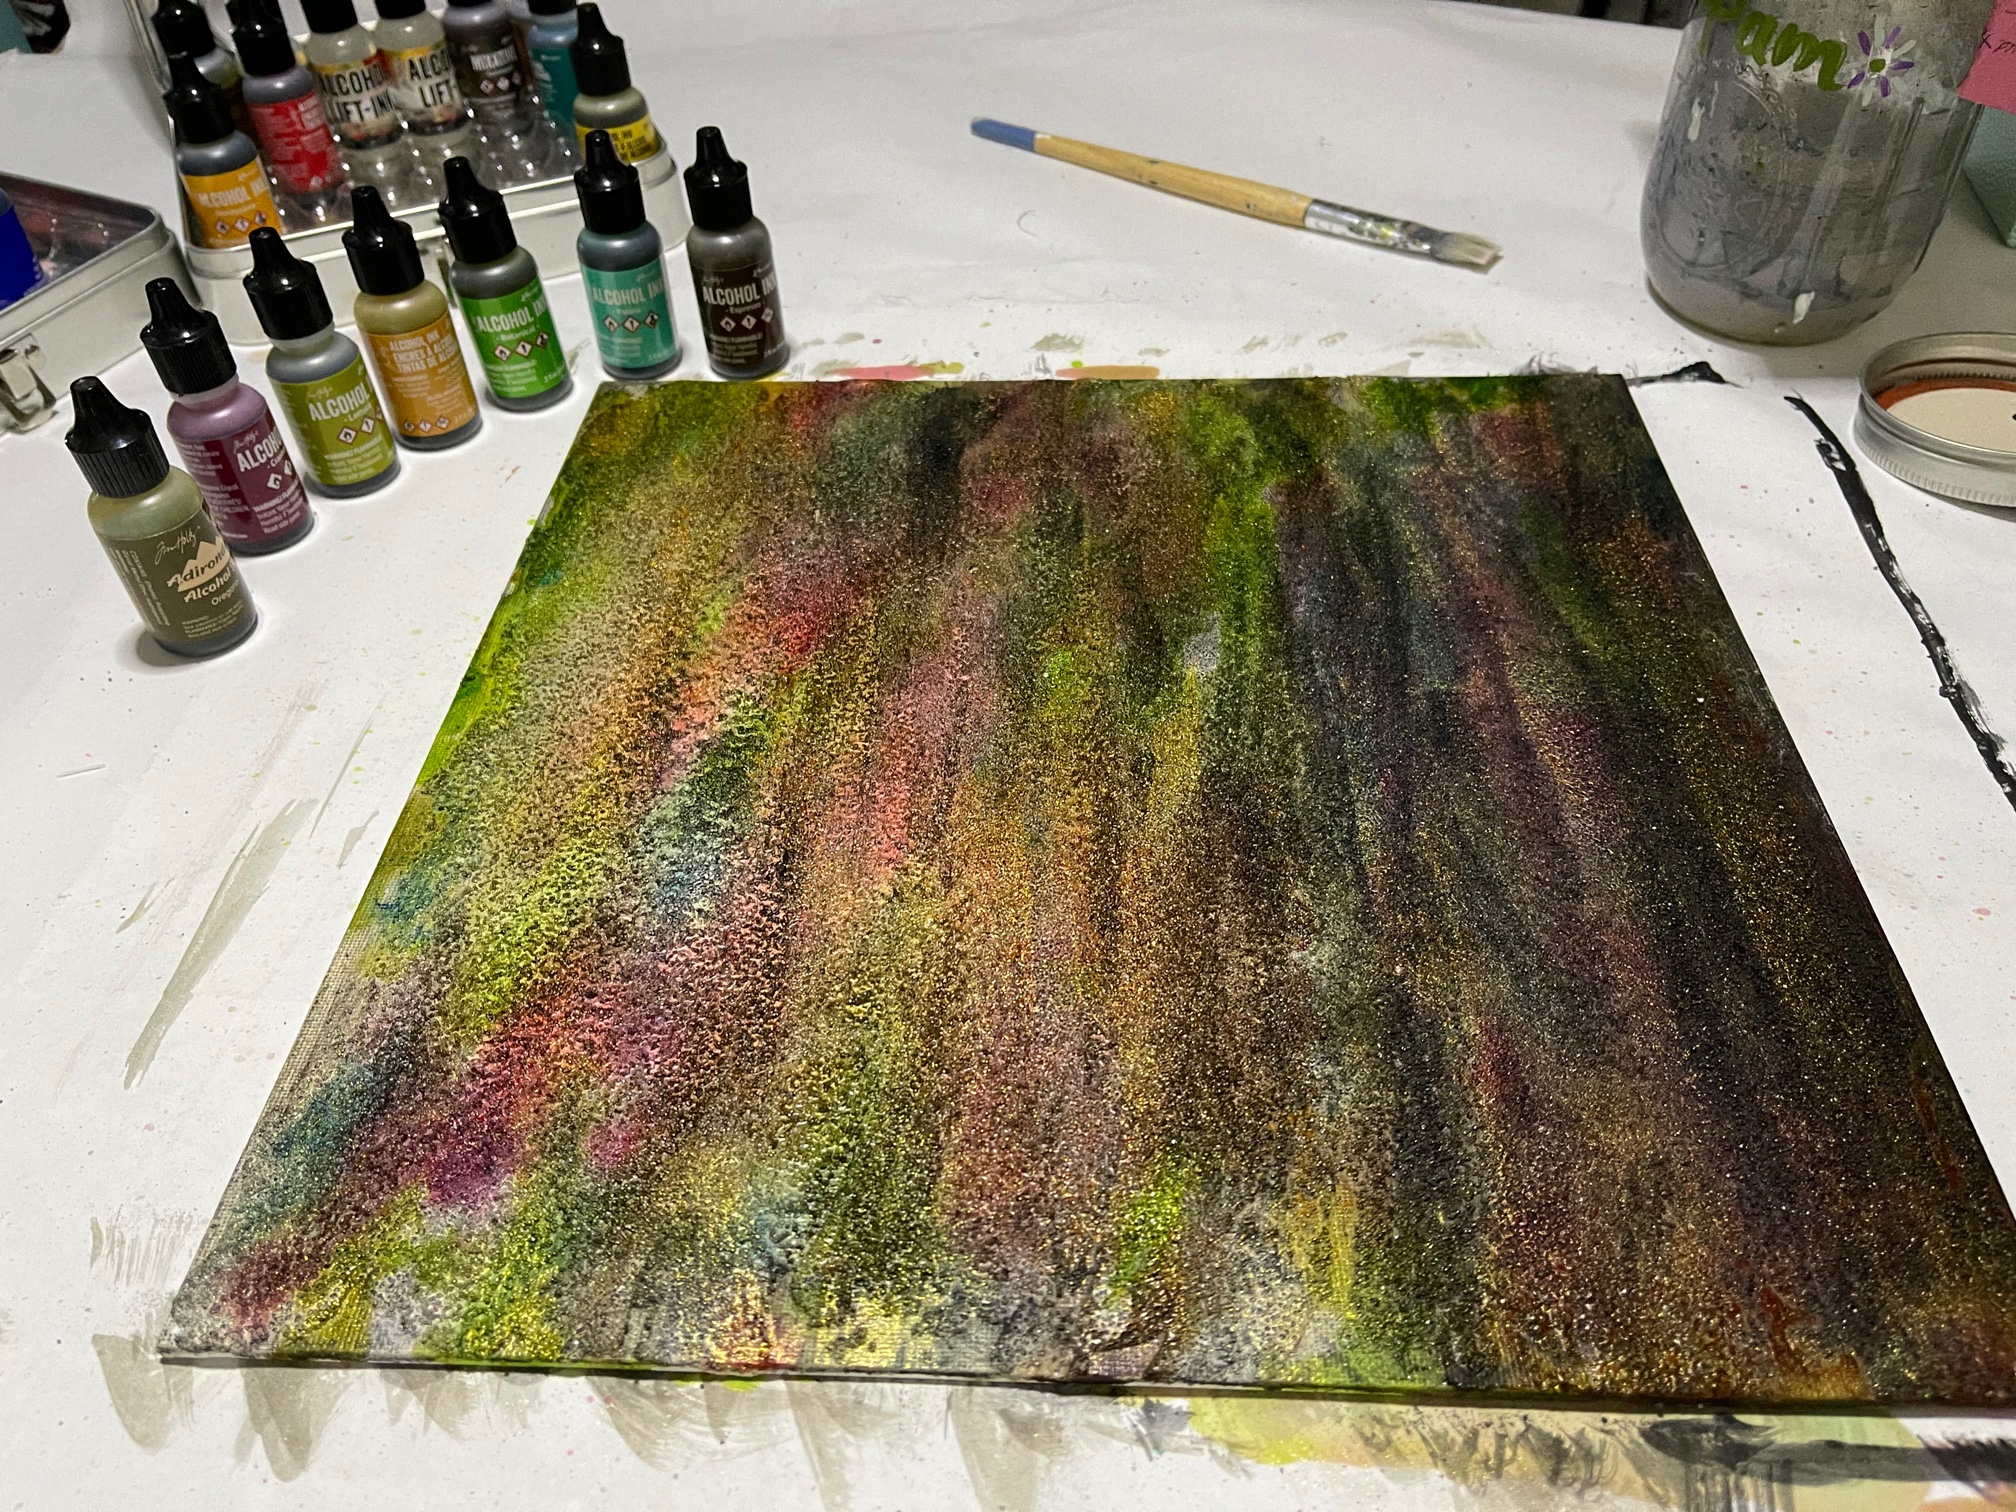


Once the canvas was dried, I did a light (watered down the paint) brushing with Liquitex Mars Black Acrylic Paint and Art Alchemy Sparks Paint in Ginger Magic. From there, I let this layer dry then I misted the canvas with regular 70% Isopropyl Alcohol and applied alcohol inks from @rangerink and @tim_holtz (Oregano, Cranberry, Lettuce, Butterscotch, Botanical, Patina, and Espresso). Misting the canvas with the Isopropyl Alcohol allowed the alcohol inks to flow fluidly together. Then waited for this layer to dry. I really like how the Sparks paint came through the alcohol inks just enough to have a bit of shimmer.
I used a small ceramic frame from Michael’s Store for the photo. I painted the frame with the Mars Black acrylic paint then went over the black (once it was dry) with Liquitex Iridescent Bright Gold Ink.
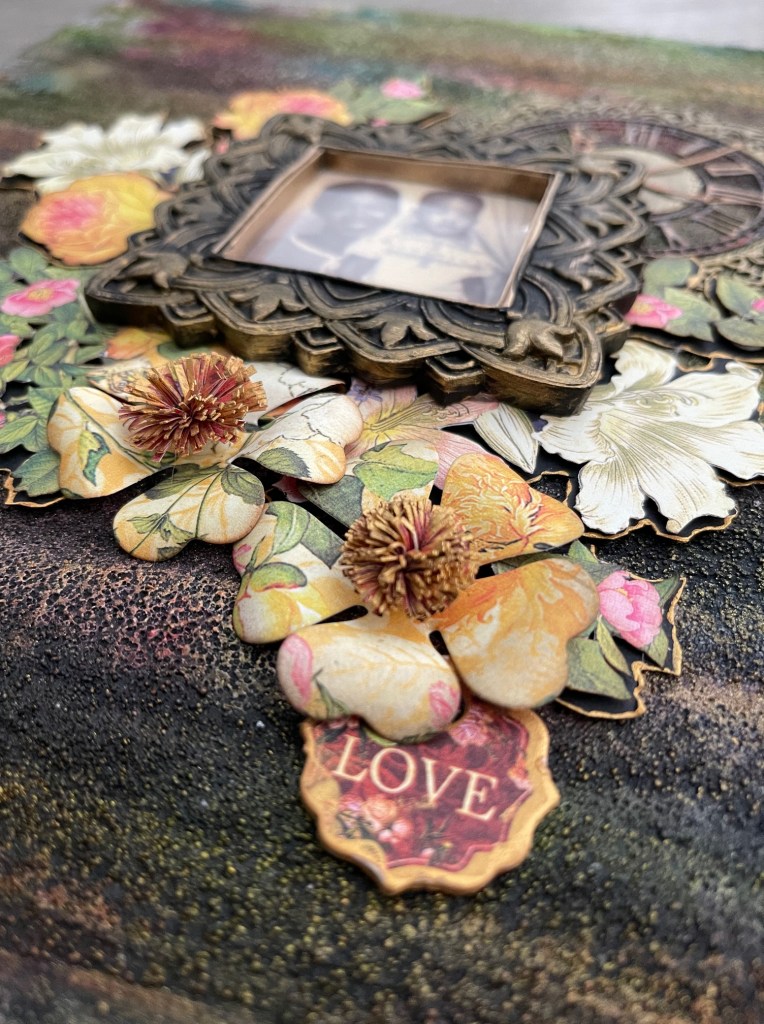
To make the floral accents, I used @graphic45 “Floral Shoppe” paper collection. I “fussy cut” sections of flowers motifs from a sheet of the designer paper. I then cut “mats” to go around each motif from black Recollections brand cardstock. I inked the edges of the cardstock with the Iridescent Bright Gold ink. I mounted the floral motifs onto the black cardstock with foam dots (thin, not thick foam dots), and adhered each motif onto the canvas with hot glue. Two additional floral pieces were created using a Graphic 45 Large Tag, ATC Tag & Flower Metal Dies. I used the larger flower die and some of the Floral Shoppe designer paper to create the flower on the lower right of the canvas. I took a thin strip of the designer paper and made the flower centers. I accented the centers with the Iridescent Bright Gold Ink.
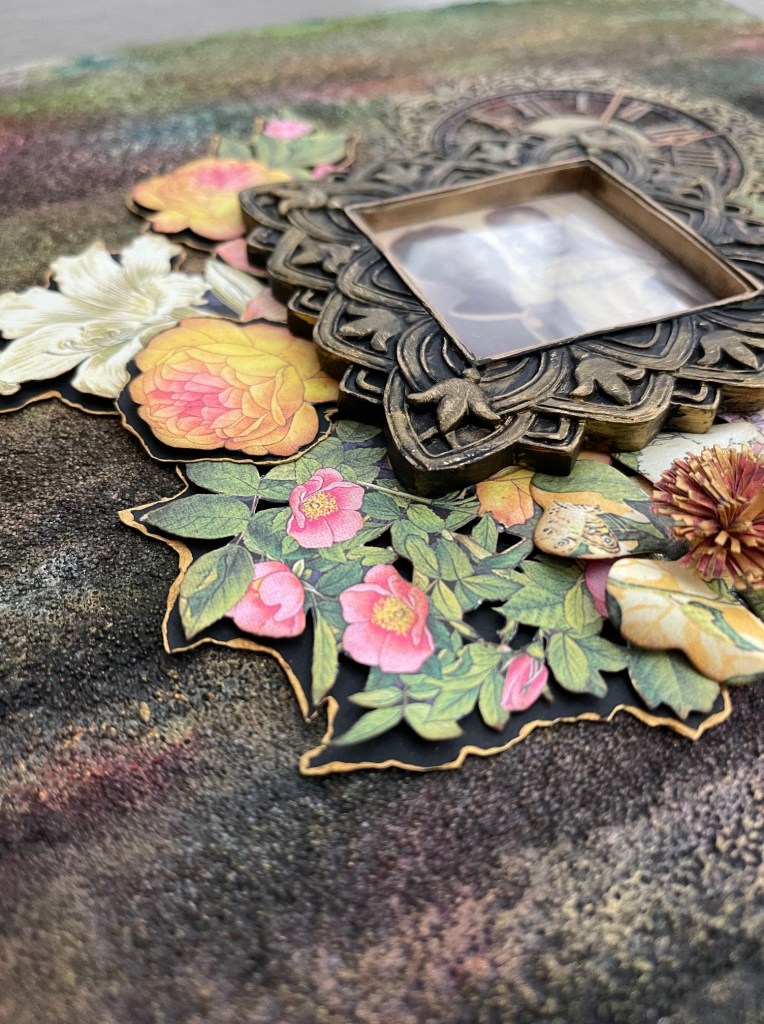
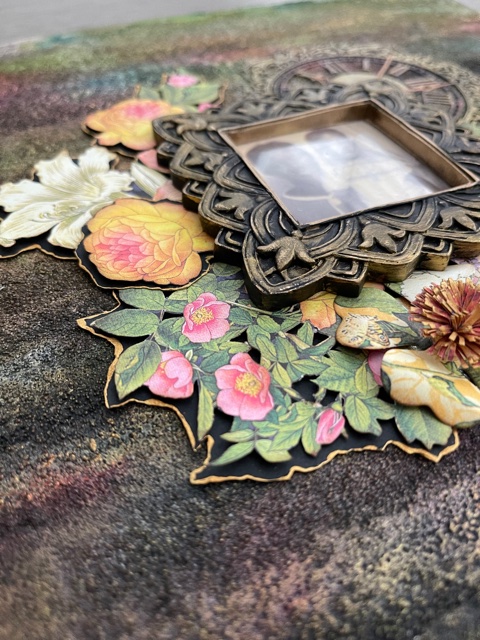
The clock was created with a Graphic 45 Square Tag & Clock Metal Die set. I used the same black cardstock I used for the florals and a combination of Iridescent Bright Gold Ink, Art Alchemy Metallique Wax Cire Cera in Aged Brass and Rich Copper, and Art Alchemy Antique Brilliant Wax Cire Cera in Mystic Turquoise.
Lastly, I added some Iridescent Bright Gold Ink to the edges of a chipboard piece from the Floral Shoppe collection.
I truly love the way this canvas panel turned out. I’m happy that I used what I thought to be an unusable photo to create a piece that can be hung on our family gallery wall.
I hope this design project inspires you to salvage old photos, or photos that you thought could not be used or displayed.
Thank you so much for following me on this blog.